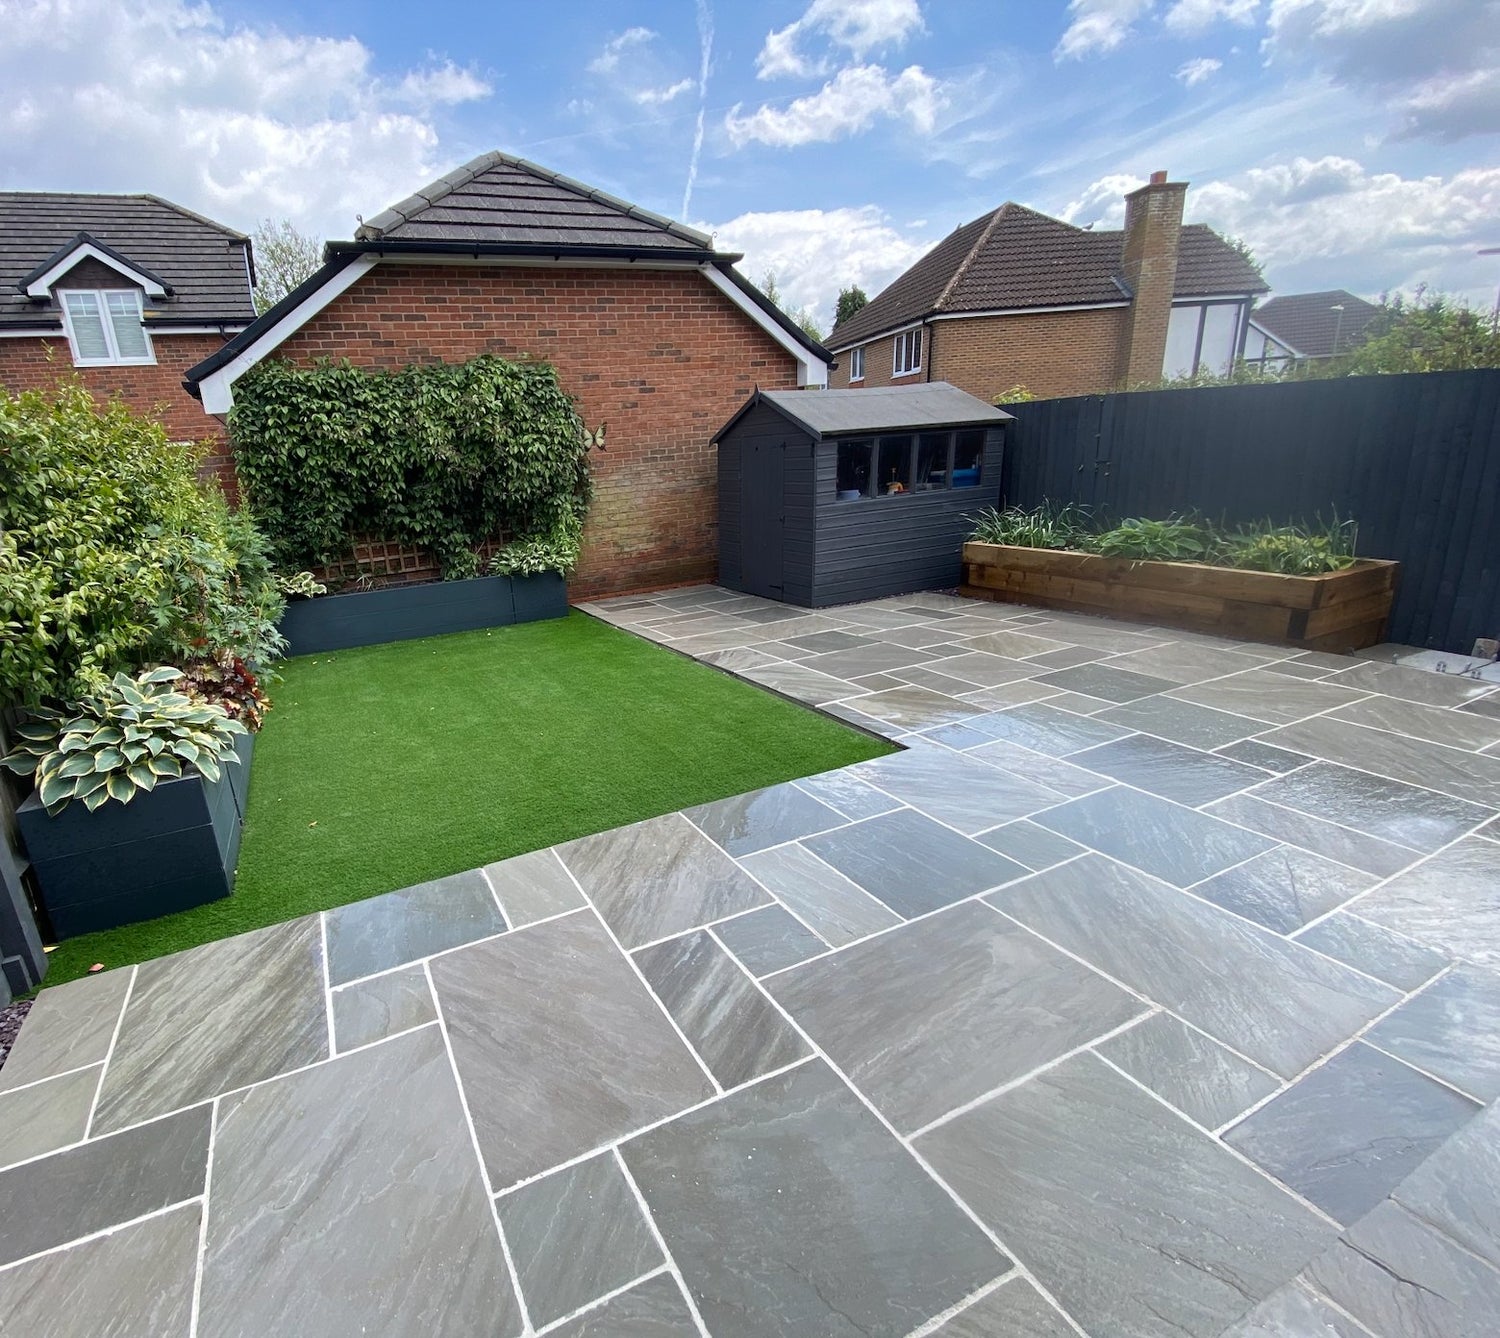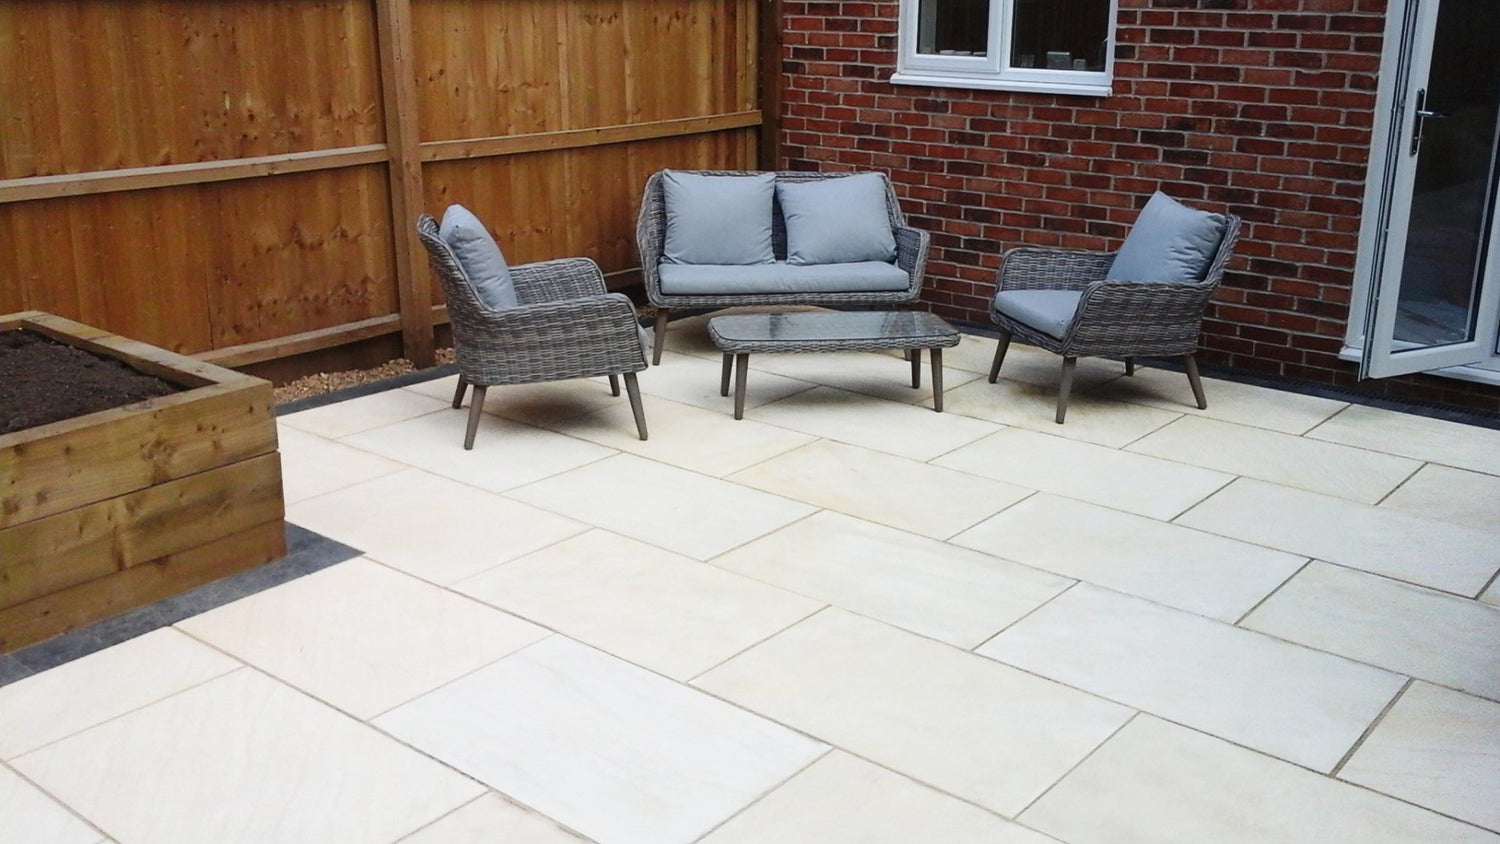
Jointing and Pointing For Paving (Sand & Cement Mix)
Patio pointing is important for both looks and durability. It protects the layers under your paving, stops weeds, and makes your patio look better. Good pointing helps your patio last longer. This guide covers old and new ways to point patios. It'll help you understand how to keep your outdoor spaces in great shape, whether you're doing it yourself or hiring someone. We'll look at different methods so you can choose what's best for your patio.
1. Dry Brush Grouting

Dry brush-in pointing differs from wet grouting by requiring a completely dry environment. For optimal results, both the mortar mix and paving surface must be free of moisture. This allows the sand and cement blend to fill joints evenly.
The paving surface must be absolutely dry before application. Even minor dampness can cause unwanted adhesion and possible staining. This method works best on warm, dry summer days.
For ideal outcomes, use slightly dry building sand or Kiln Dried Jointing sand. While some experts may opt for coarser sands, be aware that this can lead to a rougher finish in dry grouting applications.
How much sand and cement mix for paving joints?
The mix is precise: a 3:1 ratio of sand to cement, with a strict no-water rule. This ensures a consistent, uniform colour in the resulting powder, signifying a thorough blend of the components. Once prepared, this mixture is evenly spread over the paving surface and gently swept into the joints using a soft brush.
When it comes to the "dry brush-in" technique, there's a notable challenge. The weight of the dry sand/cement mix is so light that it often doesn't settle well into the joints. Instead, it tends to sit fluffily, not presenting a solid appearance. However, skilled contractors have a workaround. They employ a pointing bar or a trowel blade to firmly press the mix, ensuring it compacts well into the joint. This pressing and brushing-in process is repeated until the joints are satisfactorily filled.
There's also another method that some consider more straightforward. After filling the joints, the surface is lightly misted with clean water. This not only helps the dry mix settle into the joint but also provides the slight moisture needed for the cement to start setting. However, this method has its limitations. Once the surface is damp, adding more dry mix becomes challenging. While on a scorching summer day, the surface might dry quickly, allowing for multiple rounds of this process, such ideal conditions are rare throughout the year.
Do patio sand and cement joints need to be wet?
Dry brushing-in, if not done correctly, can lead to subpar joints. Without proper wetting, the outcome is often a fragile, short-lived filler that can become a haven for weeds. Beware of contractors who neglect this, as they might leave you with a deteriorating patio after pocketing their payment.
Packaging and filling the joints adequately before introducing any water is essential for a quality joint. While this method can yield decent results, it still might not match the durability of a wet slurry joint. Combine dry brushing-in with freshly buttered joints during flag laying for the best outcome. This "butter mortar" (a typical wet mortar) provides the needed moisture for the dry mix to set. Ensure the dry mix is firmly pressed into the joint alongside the butter mortar for a long-lasting, sturdy joint.
2. Brush-In Jointing Compound
Brush-In Jointing Compound, often a blend of ready-mixed sand and cement, offers a modern twist to the age-old method of dry brush grouting. Tailored explicitly for the purpose of filling in the spaces between paving slabs, this compound is becoming a go-to choice for many homeowners and professionals alike.
Its rise in popularity can be attributed to several factors. Firstly, being pre-mixed, it eliminates the guesswork and potential inconsistencies that can arise when mixing your own sand and cement. This ensures uniform consistency and quality throughout the application. Secondly, its user-friendly nature means even those new to patio pointing can achieve professional-looking results.
Moreover, the compound often has added benefits, such as weed inhibitors, which prevent unwanted growth between the slabs. It also tends to be more resistant to the elements, ensuring longevity and reducing the need for frequent touch-ups. Lastly, its availability in various shades allows homeowners to choose a colour that complements their pavers, enhancing the overall aesthetic appeal of the patio.
| Aspect | Brush-In Jointing Compound | Traditional Brush-In |
|---|---|---|
| Base Components | Ready-mixed sand and cement | Manually mixed sand and cement |
| Consistency | Uniform due to pre-mixing | Varies based on manual mixing |
| Application Ease | User-friendly, suitable for beginners | Requires more expertise for consistency |
| Additional Benefits | Weed inhibitors, weather-resistant | Dependent on mix and external products |
| Colour Options | Available in various shades | Limited to sand and cement's natural colour |
| Longevity | Often more durable due to consistent mix | Dependent on quality of manual mix |
3. Two-Part Epoxy Jointing Mortar
The two-part epoxy jointing mortar presents a sturdy alternative for patio pointing. Renowned for its durability, it's apt for various surfaces, including driveways. This method is centered on the amalgamation of two elements: a resin and a hardener, which together produce a mortar that fills the gaps between paving slabs.
To utilise this method, firstly ensure the patio surface is clean, with all gaps between slabs free from debris or loose materials. Given the viscous nature of the mortar, it's vital to prevent any seepage from open edges. This can be achieved by either haunching the edges or using putty to seal the gaps. The entire patio area should be dampened and kept moist during the application to delay the mortar from setting prematurely.
Once the surface is prepped, mix the two components of the mortar as directed by the manufacturer. The mortar can then be applied to the gaps with a squeegee, ensuring they are filled thoroughly. The semi-fluid consistency of the product means it will naturally settle into the gaps without the need for trowelling. It's crucial to wash off any surplus mortar from the paving slabs before it dries. After the mortar solidifies, which typically takes between 24-48 hours, the patio is ready for use.
| Aspect | Two-Part Epoxy Jointing Mortar | Traditional Brush-In |
|---|---|---|
| Base Components | Resin and Hardener | Sand and Cement |
| Durability | Highly durable, suitable for driveways | Varies, often less durable than epoxy |
| Method | Mix two components and apply with a squeegee | Brush dry mix into gaps and optionally wet |
| Setting Time | 24-48 hours | Depends on conditions, often quicker |
| Surface Preparation | Clear gaps, dampen area, prevent seepage from edges | Ensure surface is dry, clear gaps |
| Finish | Semi-fluid, settles naturally | May require trowelling, can be crumbly |
The practice of dry brushing-in for filling paving joints often results in subpar, crumbling mortar that allows weed growth. This occurs because without pre-wetting, the dry mix does not properly hydrate and bond. Irresponsible installers favour dry brushing as defects appear after they leave. Conscientious contractors can achieve better joints by packing dry mix into pre-filled, wet "butter" mortar. This provides moisture to initiate curing and hardening if the dry mix integrates well. However, care must be taken when later spraying water, as the cement-rich dry mix on the damp paver surface risks splashing and staining - the very issue dry brushing aims to avoid. Overall, combining wet mortar and tightly packed dry brushing can produce quality paving joints, but the technique demands care to avoid defects defeated its original purpose.
What is the best mix for patio pointing?
Should patio pointing be wet or dry mix?
Is sharp or building sand better for patio pointing?
Does sandstone paving need grouting?
Does porcelain paving need grouting?
Which is the best grout for sandstone paving?
What do you mix with mortar for a patio?
How much sand for block paving?
Related Posts
-
How to remove moss from patio paving
Moss growth is a common issue for patio paving, especially in damp, shaded areas. While moss may seem harmless, it ca...
-
How to clean paving without a pressure washer
A patio cleaner is a cleaning solution designed specifically for removing dirt, grime, and stains from outdoor patio...
-

Patio Kits vs Single Size Paving Slabs: Which To Choose?
When designing a patio or outdoor space, one crucial decision is whether to use a patio kit (also known as patio pack...
-
Sandstone v Limestone v Porcelain: The Pros and Cons of Different Garden Paving Materials
Transforming your outdoor space involves choosing the right paving material, and porcelain and sandstone are two of t...