Patio Paving Laying Patterns Guide
Share
Paving patterns can transform an ordinary outdoor space into a stunning and eye-catching area that complements your home and garden. By carefully selecting the right pattern, you can create a unique and visually appealing design that enhances your patio, pathway, or driveway. In this article, we will explore various paving patterns and provide design ideas to inspire your next outdoor project.
Understanding Paving Patterns
Paving patterns are created by arranging paving slabs or setts in a specific layout. These patterns can be simple or intricate, depending on the desired style and complexity of the design. When choosing a paving pattern, consider factors such as the size and shape of your outdoor space, the type of paving material you are using, and the overall aesthetic you wish to achieve. Once you have decided on a laying pattern, see our article on how to lay a patio.

Popular Paving Patterns
There are several paving patterns to choose from, each with its unique characteristics and design possibilities:
Stack Bond
The stack bond pattern consists of paving blocks or setts arranged in a simple grid, with each slab aligned vertically and horizontally. This pattern creates a clean, modern look and works well with contemporary paving materials, such as porcelain slabs or smooth concrete slabs.
Running Bond
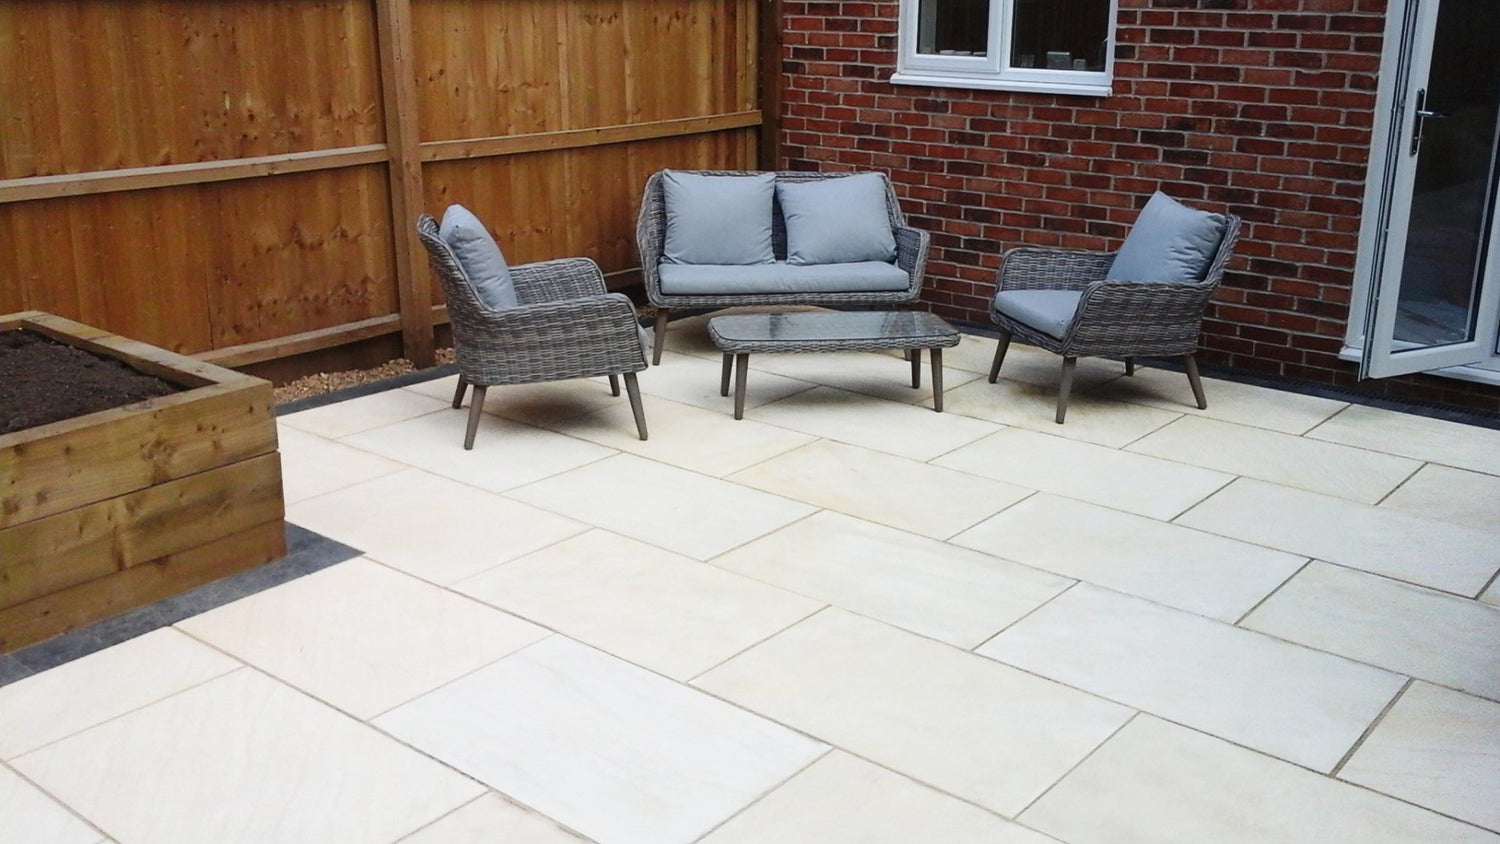
In a running bond pattern, the paving slabs or setts are arranged in a staggered, offset manner, similar to a brick wall. This pattern is versatile and works well with various paving materials, including natural stone, concrete, and brick.
Herringbone
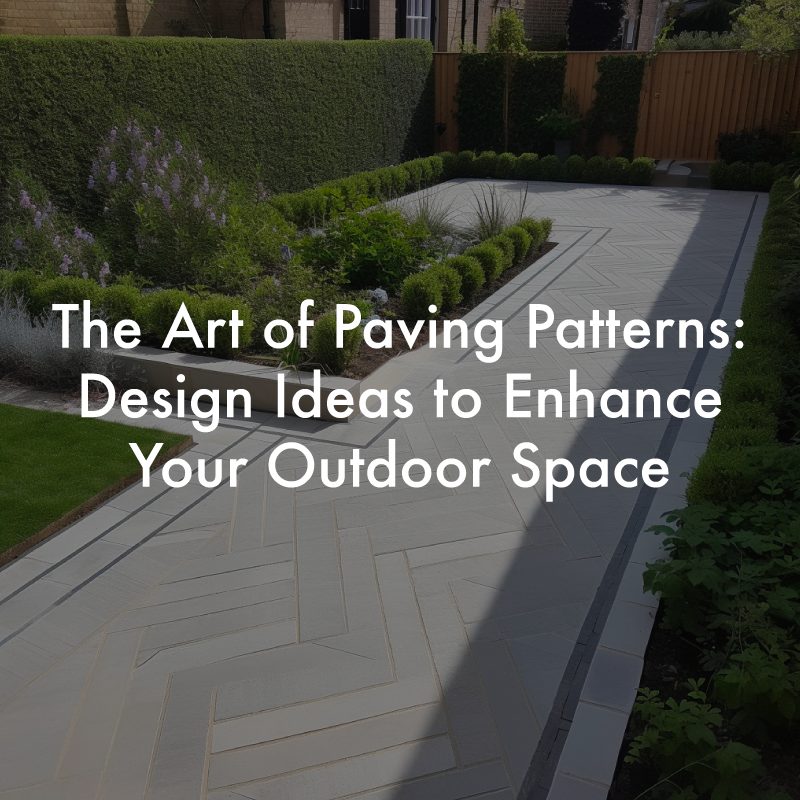
The herringbone pattern features paving slabs or setts laid in a V-shape at 45 or 90-degree angles. This pattern creates a visually striking design and offers excellent stability, making it a popular choice for driveways and high-traffic areas.
Basketweave
Basketweave patterns consist of alternating pairs of horizontal and vertical slabs or setts, creating a woven appearance. This pattern adds visual interest and texture to your outdoor space and works well with both traditional and contemporary materials.
Random
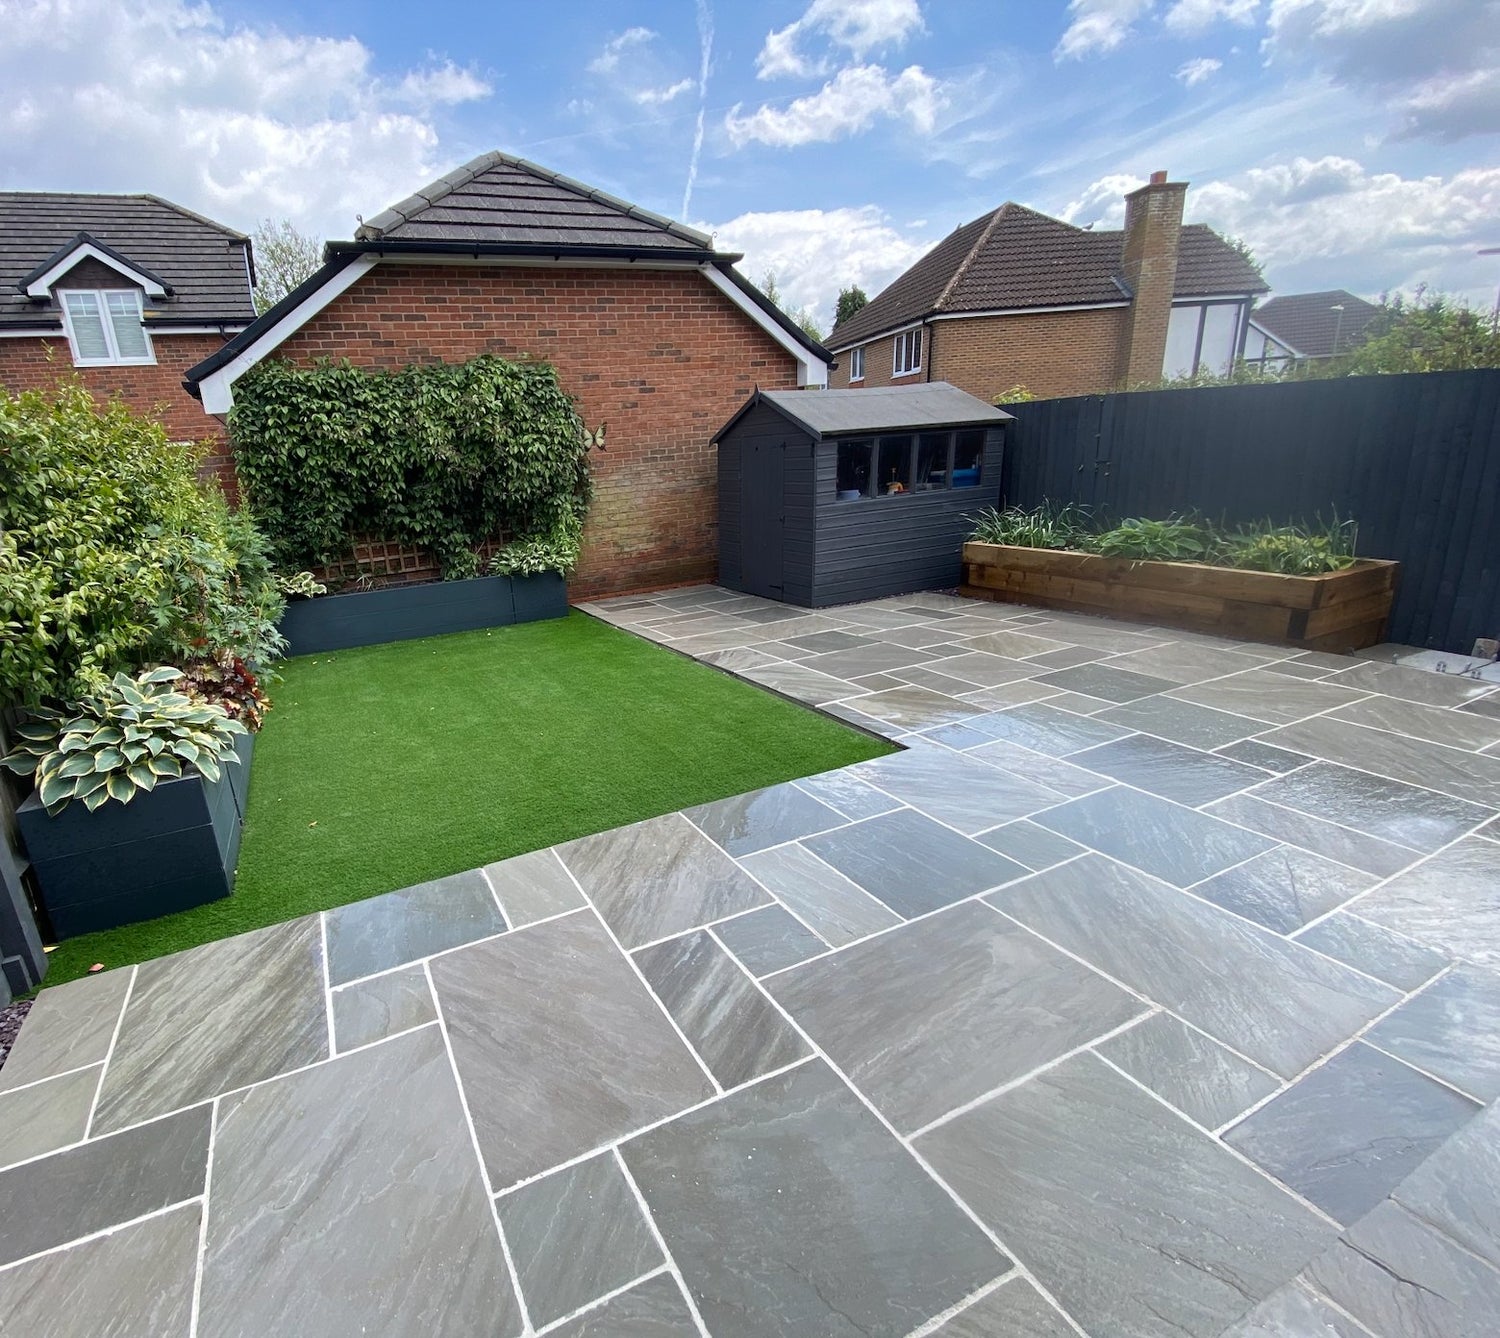
Random patterns involve the use of different-sized paving slabs or setts arranged in an irregular layout. This pattern is ideal for creating a natural and organic look, particularly when using natural stone materials.
Design Ideas for Paving Patterns
Here are some design ideas to help you create a visually stunning and unique outdoor space using paving patterns:
Combine Patterns
Experiment with combining different patterns to create a dynamic and eye-catching design. For example, you could use a herringbone pattern for your main patio area and a running bond pattern for the surrounding pathways.
Use Mixed Materials
Incorporate different types of paving materials, such as natural stone and porcelain, to create contrast and add visual interest to your design. Combining materials can also help to define different zones or areas within your outdoor space.
Integrate Borders and Accents
Add a decorative border or accent to your paving pattern using contrasting colours, materials, or patterns. Borders can help to frame your paved area and draw attention to focal points, such as a water feature or seating area.
Play with Scale
Use different-sized paving slabs or setts within the same pattern to create a sense of depth and dimension. This can be particularly effective in small outdoor spaces, making the area appear larger and more dynamic.
Consider Colour and Texture
Choose paving materials with varying colours and textures to add depth and interest to your paving pattern. For example, mix smooth and textured slabs, or combine light and dark shades to create a visually engaging design.
Custom Designs
Create a truly unique outdoor space by incorporating custom designs into your paving pattern. This could involve cutting slabs into specific shapes or using bespoke setts to form a pattern or motif that reflects your personal style or interests.
Product Recommendations for Your Project
To help you bring your vision to life, here are some of our top-selling paving products, available in both 900x600 sizes and mixed patio kits:
| Product | Material | Size Options |
|---|---|---|
| Modak Indian Sandstone Paving | Sandstone | 900x600, Mixed Patio Kits |
| Rainbow Indian Sandstone Paving | Sandstone | 900x600, Mixed Patio Kits |
| Raveena Indian Sandstone Paving | Sandstone | 900x600, Mixed Patio Kits |
| Camel Indian Sandstone Paving | Sandstone | 900x600, Mixed Patio Kits |
| Kandla Grey Sandstone Paving | Sandstone | 900x600, Mixed Patio Kits |
| Raj Green Indian Sandstone Paving | Sandstone | 900x600, Mixed Patio Kits |
What is a herringbone laying pattern?
The herringbone laying pattern is made up of two interlocking L-shapes and is probably the most popular laying pattern for Indian sandstone paving. This is because it looks great and is relatively easy to lay yourself.
How do I lay a herringbone laying pattern?
To lay this pattern, start by laying the first slab in the middle of your prepared area. Then take the next slab and place it at a 45-degree angle to the first one, making sure that the ends of both slabs are touching. The next slab should then be placed in the same way but at a 90-degree angle to the first two slabs. You should continue laying the slabs in this way until you have reached the edge of your prepared area.
What is a basket weave laying pattern?
The basket weave laying pattern is made up of two interlocking square shapes and is another popular laying pattern for Indian sandstone paving. This pattern is slightly more difficult to lay than the herringbone but still relatively easy for a DIYer.
How do I lay a basket weave laying pattern?
To lay this pattern, start by laying the first slab in the middle of your prepared area. Then take the next slab and place it at a 90-degree angle to the first one, making sure that the ends of both slabs are touching. The next slab should then be placed in the same way but at a 180-degree angle to the first two slabs. You should continue laying the slabs in this way until you have reached the edge of your prepared area.
What is a stretcher bond laying pattern?
The stretcher bond laying pattern is made up of two parallel lines of slabs with each subsequent row offset by half a slab. This is the most difficult laying pattern for Indian sandstone and limestone paving and is best left to professionals.
How do I lay a stretcher bond laying pattern?
To lay this pattern, start by laying the first slab in the middle of your prepared area. Then take the next slab and place it so that it is touching the first slab but offset by half a slab. The next slab should then be placed in the same way but at a 90-degree angle to the first two slabs. You should continue laying the slabs in this way until you have reached the edge of your prepared area.
How to lay mixed-size patio packs
If you are laying a patio with mixed size paving slabs, you will need to lay one of the largest slabs first and then work your way down to the smaller ones. To do this, start by laying the first slab in the corner of your prepared area.
On Paving Shopper, these are the 900 x 600 paving slabs. You will need to lay this horizontally, then place a second 900mm x 600mm slab directly below it as far left as possible, but this paver will be placed vertically.
Once you’ve created your starting point here, this area will act as a guide for you to continue the pattern like so:
Laying patio paving
Now that we know how to lay the most popular paving patterns, let’s get started on laying our own patio!
Once you have decided on a pattern, start laying the slabs from one corner working outwards. It’s important to make sure that each slab is level with the others before moving on. To do this, use a spirit level.
Begin by mixing the mortar mix with water in a bucket according to the manufacturer’s instructions. Once it is the consistency of peanut butter, use a trowel to apply it to the back of the first paving slab.
Position the slab in the desired location and then tap it into place with a rubber mallet. Use a spirit level to make sure it is level before moving on to the next one. Repeat this process until all the slabs are in place.
Once all the slabs are in place, you will need to fill any gaps between them with cement. First, brush away any excess mortar mix using a stiff-bristled brush. Then, simply mix some cement with water in a bucket and then use a trowel to apply it to the gaps. Smooth it off with the trowel and then leave it to dry. Once the whole area is filled in, leave the mortar to set for 24 hours before applying water to cure it.
Tips for Selecting the Right Paving Pattern
When choosing a paving pattern for your outdoor project, keep these tips in mind:
- Consider the style of your property: Select a pattern that complements the architectural style and materials of your home and garden. For example, a traditional herringbone pattern may be more suitable for a period property, while a stack bond pattern may work better with a contemporary home.
- Think about functionality: Some patterns offer better stability and durability than others, which is important for areas with heavy foot or vehicle traffic. For example, the herringbone pattern is a popular choice for driveways due to its structural strength.
- Plan your layout: Before starting your project, plan your paving pattern and layout carefully. This will help ensure a professional and visually appealing result and can also save time and effort during the installation process.
- Don't be afraid to get creative: Paving patterns offer endless design possibilities, so don't be afraid to experiment with different materials, colours, and layouts to create a truly unique and visually stunning outdoor space.
The art of paving patterns allows you to create a visually appealing and functional outdoor space that enhances your home and garden. By understanding the different types of patterns available and exploring various design ideas, you can choose a paving pattern that complements your property and reflects your personal style. With careful planning and attention to detail, your new outdoor space will not only look great but also provide a durable and practical surface for years to come.
Related Posts
-

UK Garden Statistics and Trends 2024
UK Garden Statistics and Trends 2024 General UK Garden Statistics The vast majority of UK households have access to ...
-

Can I lay Paving on Soil or Mud?
Technically, yes – you can lay paving stones or slabs directly onto exposed topsoil however, laying a sub-base will e...
-

How Much Does a New Patio Cost?
A new patio in the UK typically costs between £80-£150 per square meter. For a 40-50 sqm patio, expect to pay £2,000-...
-

What Different Sizes Do Paving Slabs Come In?
When planning a patio or outdoor paving project, one of the key decisions is choosing the right size paving slabs. ...
-

Can You Pressure Wash Indian Sandstone?
Indian sandstone is a popular choice for outdoor paving due to its durability and attractive appearance. However, li...
-
Is Sandstone Paving Permeable? Is it porous?
Sandstone's porous nature enables it to absorb rainfall, qualifying it as a permeable paving variety. However, seali...
-

Where Does Natural Sandstone Paving Come From?
Sandstone begins deep underground, formed over eras as minerals and sediments fused under pressure. Powerful forces ...
-

5 Paving Ideas for Small Gardens: Maximise Your Outdoor Space
Front of House When considering paving ideas for the front of your house, it's crucial to select ones that complem...
-

9 Paving Ideas for Front of House: Enhancing Curb Appeal with Style
The facade of a house plays a pivotal role in defining its character and curb appeal, and the choice of paving can s...
-

9 Summer Garden Paving Ideas UK
Summer gardens offer a vibrant canvas for homeowners to express their style while enhancing outdoor living spaces. G...
-

8 Garden Paving Ideas for 2024
It's time to refresh your garden's look for 2024 and an easy way to do that is with some new paving. With so many opt...
-
How to remove moss from patio paving
Moss growth is a common issue for patio paving, especially in damp, shaded areas. While moss may seem harmless, it ca...
-

How much does sandstone paving cost?
When choosing new garden pavers, sandstone offers homeowners an enticing middle-ground - more durable than basic conc...
-

Why Do Paving Slabs Crack And How To Repair Them
Seeing cracks appear on your patio or driveway can be disheartening after investing time and money into installing be...
-

How to lay paving in winter (Tips & Tricks)
How Cold Temperatures Impact Paving Projects The primary concern when working in cold weather is ensuring proper curi...
-
Sub Bases For Patios
Building the Perfect Patio Base: A Comprehensive Guide When planning an outdoor living space, understanding proper ba...
-
Pros and Cons of Porcelain Paving
Are you considering adding porcelain paving to your outdoor space? It's important to weigh the pros and cons before ...
-

Understanding Paving Slip Ratings: A Comprehensive Guide
A paving slip rating, also known as a slip resistance or anti-slip rating, is a measure of how slippery a surface...
-

Stunning Garden Water Feature Ideas - Enhance Your Outdoor Space
Garden water features are decorative elements that incorporate water into a garden, adding beauty and a sense of ...
-

How to Stop Weeds in Block Paving: Expert Tips andTricks
Weeds growing between the blocks of your paving can be an unsightly and frustrating problem. Not only do they make y...
-

How to clean paving without a pressure washer
A patio cleaner is a cleaning solution designed specifically for removing dirt, grime, and stains from outdoor patio...
-

How to Grout Paving Slabs – Expert Tips and Techniques
Pointing paving slabs is an important step in the process of installing them. Grout is a mixture of cement, water...
-
Block Paving Guide | What Does it Cost? | How Much Per m2?
Block paving is a versatile and durable option for creating driveways, patios, and paths. This method involves using...
-
Porcelain VS Ceramic Paving
Porcelain paving is non-porous and more durable than ceramic paving, which is more porous and prone to stains and wea...
-
Sandstone V Porcelain Paving - (Style Comparison and Distinctions)
When choosing materials for your patio or driveway, two of the most popular options are sandstone paving slabs and p...
-

Understanding Gradients and Falls for Paving and Drainage (2024)
When it comes to paving and drainage projects, understanding the correct gradients and falls is essential for ensuri...
-
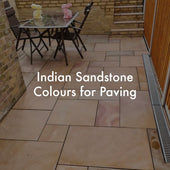
Indian Sandstone Paving Colours for A Patio - A Comprehensive Guide
Indian sandstone is one of the most popular paving materials, celebrated for its natural beauty and the variety of co...
-

Jointing and Pointing For Paving (Sand & Cement Mix)
Patio pointing is important for both looks and durability. It protects the layers under your paving, stops weeds, and...
-

How to Lay Paving on Sand and Cement: Expert Advice and Tips
Paving on Sand and Cement: A Comprehensive Guide When it comes to enhancing your outdoor space, paving is a popular ...
-

Pros and Cons of Sandstone Paving
Pros & Cons of Indian Sandstone Paving Indian sandstone paving is a natural and durable option that adds both bea...
-
Does Patio Paving Need Edging? A Comprehensive Guide
In this article, we'll explore the importance of patio edging, the different types of edging materials available, and...
-

Pet Friendly Paving - What is the best paving for a dog-friendly garden?
Creating a dog-friendly garden requires choosing the right paving materials to ensure your furry friends can enjoy t...
-
Patio Kits vs Single Size Paving Slabs: Which To Choose?
When designing a patio or outdoor space, one crucial decision is whether to use a patio kit (also known as patio pack...
-

Are paving slabs suitable for driveways?
This is a question many homeowners ask when it comes to choosing the right type of driveway surface for their home. T...
-

How much paving do you need to cover your outdoor space?
Planning an outdoor paving project is exciting, but it’s crucial to accurately estimate the amount of paving needed b...
-

What is the Best Paving for Patios?
When it comes to choosing the best paving for patios, there are a variety of factors to consider, such as durability,...
-
Sandstone v Limestone v Porcelain: The Pros and Cons of Different Garden Paving Materials
Transforming your outdoor space involves choosing the right paving material, and porcelain and sandstone are two of t...
-
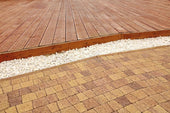
Are Paving Slabs Cheaper Than Decking?
Transforming your backyard into the ultimate outdoor oasis can be challenging when choosing between paving slabs or d...
-
How to lay a patio - An expert guide to laying paving slabs and patterns
There are a few things to consider before laying a patio, such as the type of paving stones and the laying pattern. Y...
-
How to cut Sandstone Paving?
When it comes to prepping your garden for a new patio, you may consider different designs that require your paving to...


