Understanding Gradients and Falls for Paving and Drainage (2024)
When it comes to paving and drainage projects, understanding the correct gradients and falls is essential for ensuring proper water runoff and long-term durability. Whether you're planning to install a new patio, walkway, or drainage system, getting the slope right is crucial to prevent pooling, erosion, and potential structural damage. This comprehensive guide will cover everything from basic concepts of gradient calculation to advanced techniques, ensuring you achieve professional results while avoiding common pitfalls. By the end of this guide, you'll be equipped with the knowledge to choose the right paving materials and apply the correct slopes for your project.
What are the Different Types of Falls?
In paving and drainage projects, falls are the slopes that direct water away from surfaces. There are two primary types:
- Endfall (Longitudinal Slope): This fall runs along the length of a surface or pipe, guiding water in a specific direction.
- Crossfall (Transverse Slope): This fall runs across the width of a surface, ensuring water is efficiently drained across the entire area.
Understanding these types of falls is crucial for planning your project effectively, ensuring that water flows away as intended and does not accumulate where it shouldn't.
How is the Gradient for Patios Calculated?
The gradient, or fall, measures the steepness of a slope and is essential for proper drainage. It is calculated as the ratio of the vertical rise to the horizontal run:
Gradient = Rise/Run
For instance, a gradient of 1:100 means that for every 100 units of horizontal distance, the surface should drop by 1 unit. This calculation ensures that your patio will allow water to flow off smoothly, preventing pooling and water damage.
Tools and Techniques for Measuring Gradient
Accurate measurement of gradients is critical for ensuring your paving project is successful. Consider using the following tools:
- Laser Levels: Perfect for large areas, laser levels provide precise measurements over long distances.
- Spirit Levels: Ideal for smaller projects, spirit levels help you ensure each section of your paving is correctly sloped.
- String Line and Stakes: A simple, low-tech solution for visualizing the slope over a distance.
These tools will help you achieve the exact slope needed for proper drainage, whether you're working on a small patio or a large driveway.
Common Mistakes in Gradient Calculation
Even with careful planning, some common mistakes can lead to drainage issues. Here are some errors to avoid:
- Ignoring the Whole Area's Drainage Needs: Always consider the entire area and how water will flow across all surfaces, not just a single path or patio.
- Incorrect Slope Ratios: Using too steep or too shallow a gradient can lead to poor drainage, erosion, or water pooling.
- Inadequate Compaction: Ensure the sub-base is properly compacted to prevent settling that could alter your planned gradient.
Avoiding these mistakes will help ensure that your paving project remains durable and effective in directing water away from your property.
How Much Fall Should Garden Paving Have?
For garden paving, a minimum slope of 1:40 is recommended. However, in areas with heavy rainfall, a slope of 1:60 to 1:100 is better to prevent water from pooling. Crossfall should typically be half of the endfall to ensure even drainage across the surface.
Choosing the right gradient will protect your garden paving from water damage and maintain its aesthetic appeal over time.
Choosing the Right Paving Material Based on Gradient
The material you choose for your paving project can significantly impact its performance:
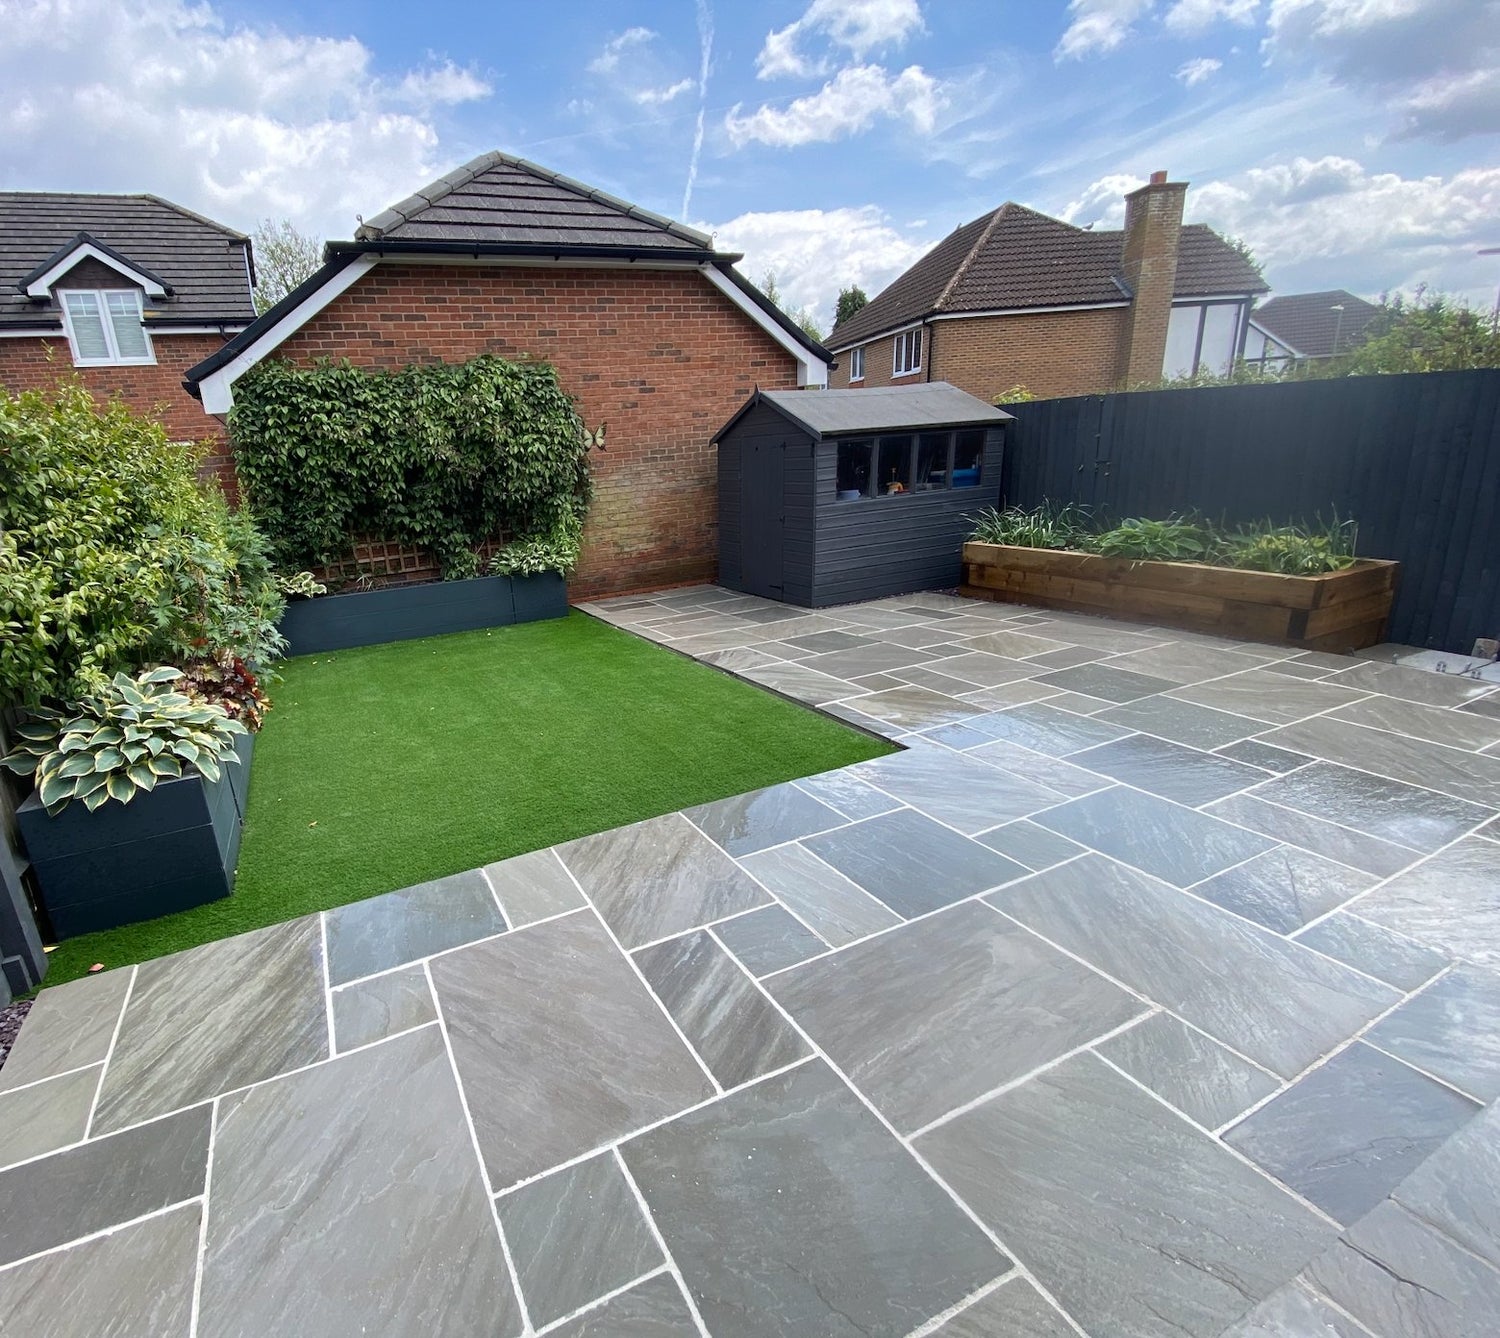
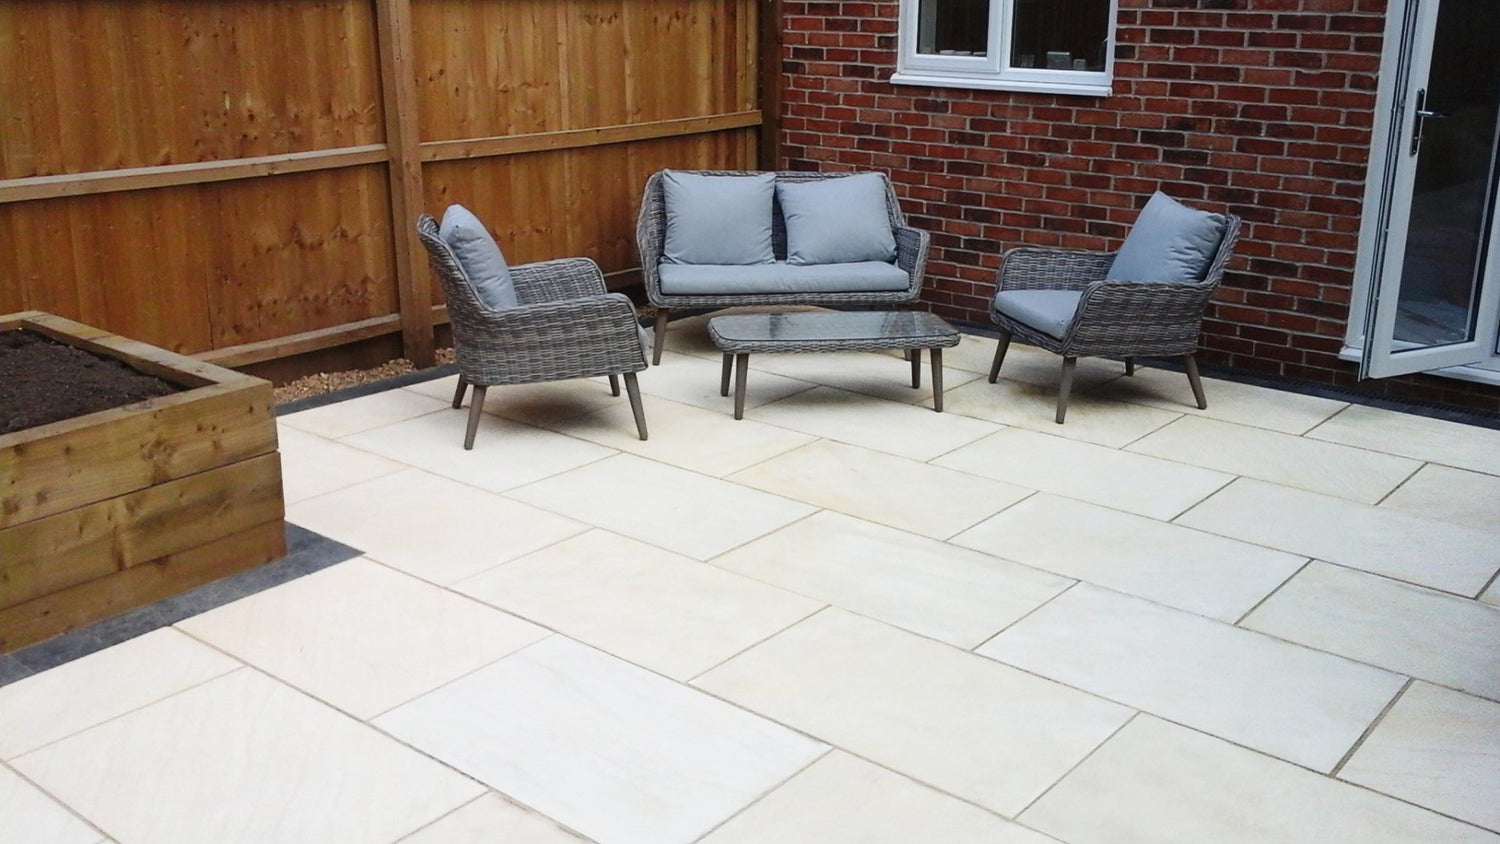
- Sandstone paving slabs: Ideal for areas with gentle slopes due to its natural texture, which offers excellent traction even when wet.
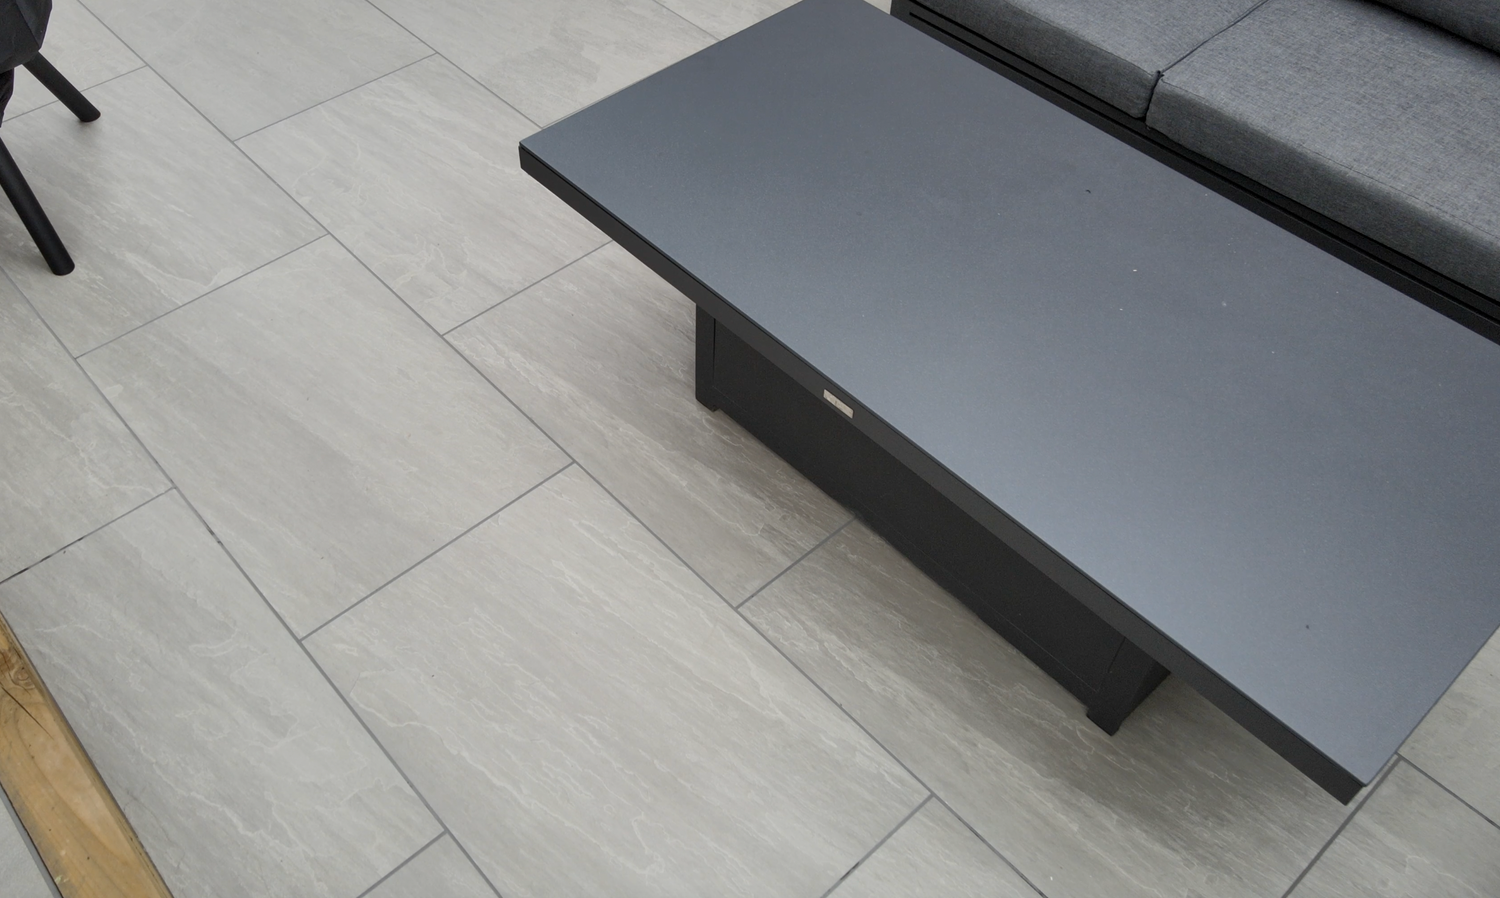
- Porcelain paving slabs: Known for its stain resistance and minimal water absorption, porcelain provides a sleek finish but requires precise gradient to avoid water pooling.
- Mixed Size Patio kits : An excellent choice for those seeking convenience and design variety, allowing for easy installation with built-in gradients.
Selecting the appropriate material based on your site’s gradient will enhance both the functionality and appearance of your outdoor space.
Additional Examples of Calculating Fall
Patio Gradient
Consider a 12-meter-wide patio with a 1:80 gradient:
- Rise = 1 unit
- Run = 80 units
- Fall per meter = 1/80 = 12.5mm
- Total fall across patio = 12 * 12.5mm = 150mm
This calculation ensures that water will drain efficiently across the patio, preventing issues with water accumulation.
Drainage Pipe
Consider a 30-meter-long drainage pipe with a 1:100 gradient:
- Rise = 1 unit
- Run = 100 units
- Fall per meter = 1/100 = 10mm
- Total fall over length = 30 * 10mm = 300mm
Accurately calculating the fall for drainage pipes ensures that water flows smoothly, avoiding blockages or backflow.
Related Resources
To deepen your understanding and ensure success in your paving projects, check out these related articles:
Patio Pointing Mix slabs
Porcelain vs Ceramic slabs
Understanding and correctly applying gradients and falls in your paving and drainage projects is essential for long-lasting, effective results. By choosing the right materials and tools, and avoiding common mistakes, you can create beautiful, functional outdoor spaces that stand the test of time. For all your paving needs, explore our wide range of high-quality products designed to meet the specific requirements of any project.
Related Posts
-

UK Garden Statistics and Trends 2024
UK Garden Statistics and Trends 2024 General UK Garden Statistics The vast majority of UK households have access to ...
-

Is Sandstone Paving Permeable? Is it porous?
Sandstone's porous nature enables it to absorb rainfall, qualifying it as a permeable paving variety. However, seali...
-
How to Stop Weeds in Block Paving: Expert Tips andTricks
Weeds growing between the blocks of your paving can be an unsightly and frustrating problem. Not only do they make y...
-

What is the Best Paving for Patios?
When it comes to choosing the best paving for patios, there are a variety of factors to consider, such as durability,...