How to Grout Paving Slabs – Expert Tips and Techniques
.jpg)
Pointing paving slabs is an important step in the process of installing them. Grout is a mixture of cement, water, and sand used to fill in the gaps between paving slabs and create a smooth and level surface. Paving slabs, on the other hand, are flat pieces of stone, concrete, or clay used to create a hard and durable surface for outdoor areas.
Pointing is necessary for paving slabs as it not only helps to create a level surface but it also prevents water from seeping between the slabs and causing damage. To properly point paving slabs, you will need certain tools and materials such as grout mix, trowel, grout float, sponge, bucket, gloves, and safety glasses.
Here is a step-by-step guide for pointing paving slabs:
- Prepare the Paving Slabs: Ensure that the slabs are clean and free of debris before starting the pointing process.
- Mix the Grout: Follow the instructions on the grout mix packaging to create a smooth and consistent mixture.
- Apply the Grout: Use a grout float to push the grout into the gaps between the paving slabs, making sure to fill all the spaces.
- Clean the Surface: Use a damp sponge to clean the excess grout from the surface of the slabs.
- Seal the Grout (Optional): If desired, you can apply a sealant over the grout to protect it from stains and water damage.
Some tips for pointing paving slabs include using a grout release agent to make clean-up easier, working in small sections, using a grout bag for precision, and wiping away excess grout immediately.
To maintain grout in paving slabs, you should regularly clean it with a mild detergent and water, and reapply sealant every few years if needed. In conclusion, pointing paving slabs is an essential step in creating a well-installed and durable outdoor surface, and by following these tips, you can ensure a smooth and successful process.
Key Messages:
- Grouting is necessary for paving slabs to prevent shifting, weed growth, and moisture damage.
- Key tools for grouting include a grout mix, trowel, float, sponge, bucket, gloves, and safety glasses.
- Maintain grout in paving slabs by regularly cleaning and resealing to prolong the life and appearance of the pavement.
What Is Grout?
Grout is a mixture used in construction to fill gaps between tiles or paving slabs. It is typically made of cement, sand, and water. The purpose of grout is to improve the structural integrity of the installation by providing stability and preventing movement. It also acts as a sealant, protecting against water penetration and preventing the growth of mould and mildew. Grout is available in different colours to match the tiles or slabs being used. When applying grout, it is important to follow the manufacturer's instructions for proper mixing and application. Remember to clean off any excess grout before it hardens for a professional finish.
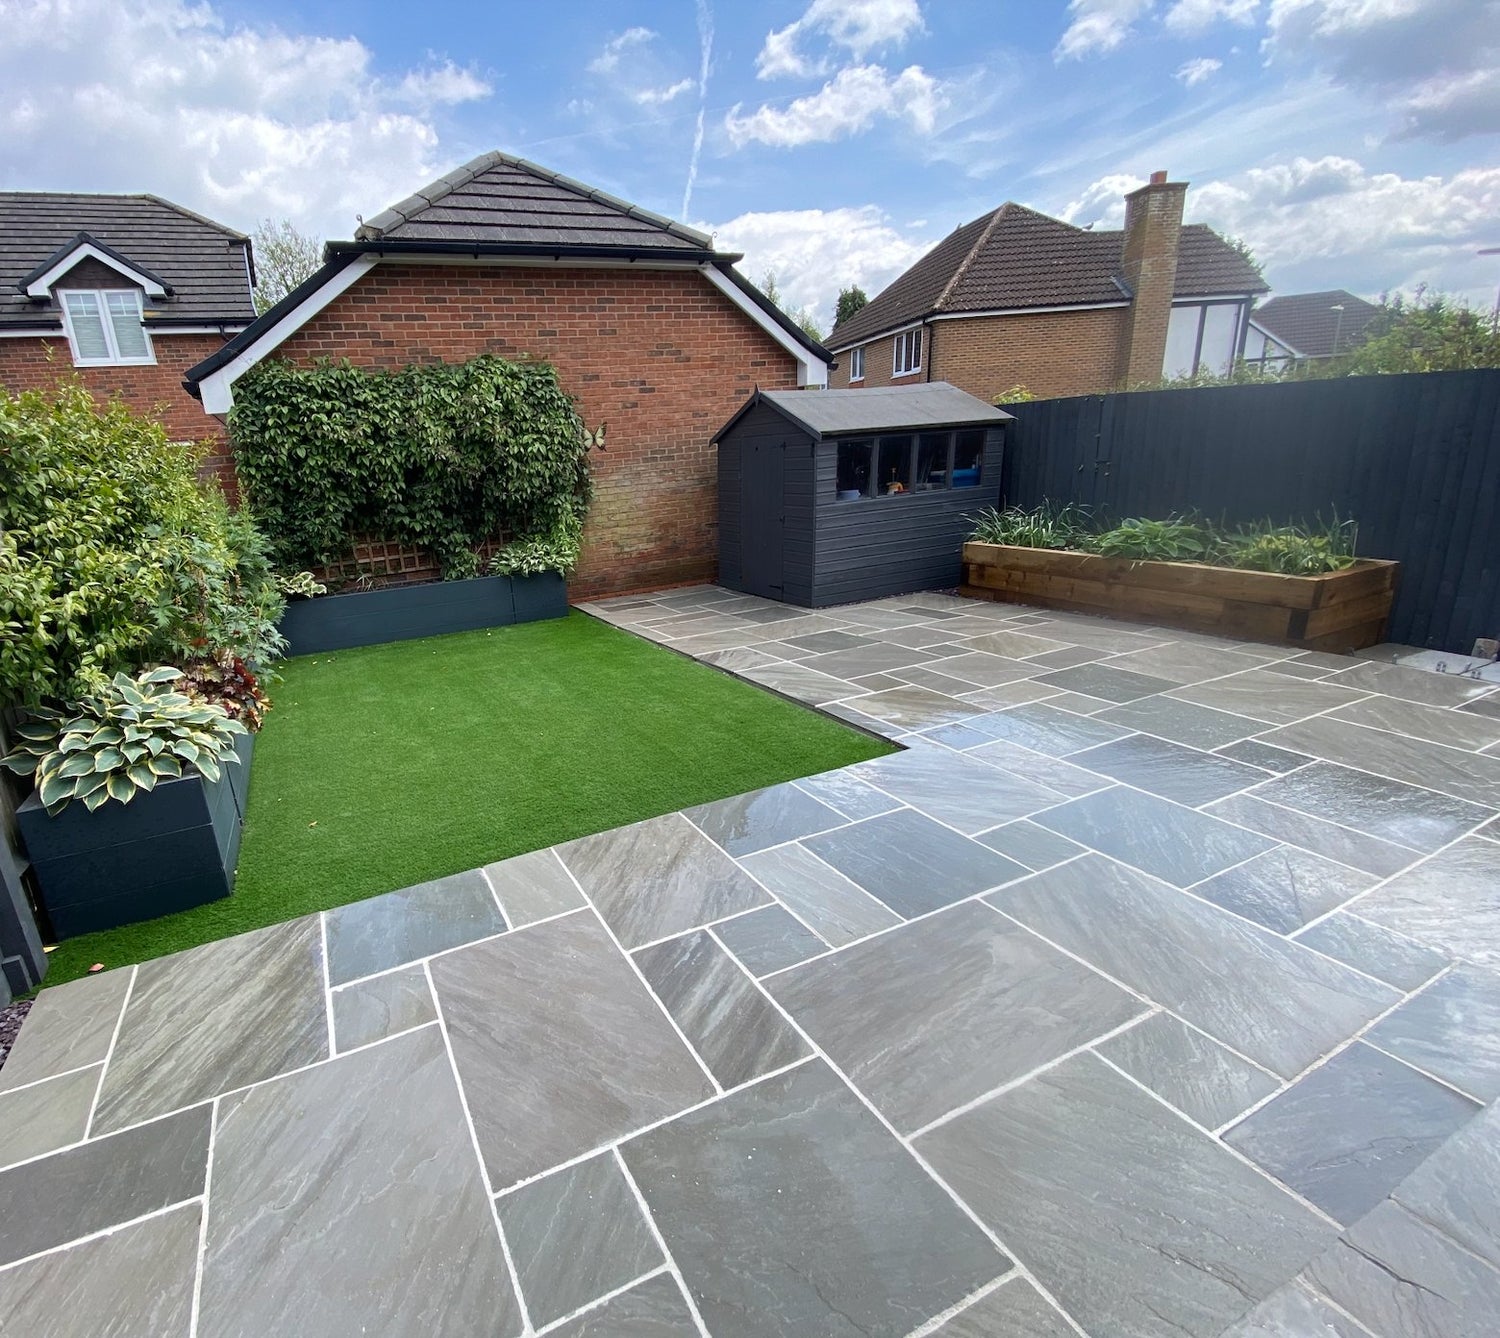
What Are Paving Slabs?
Paving slabs are flat pieces of stone or concrete that are used to create outdoor surfaces such as patios, walkways, or driveways. They are available in various sizes, shapes, and materials such as natural stone, concrete, or porcelain. Paving slabs are long-lasting, resistant to weather conditions, and can enhance the visual appeal of outdoor areas. They provide stability when walking and are easy to clean and maintain.
When selecting paving slabs, it is important to consider factors such as the desired style, durability, and budget.
Pro-tip: Before laying paving slabs, ensure that the base is solid and level to prevent future issues such as unevenness or cracking.
Why Is Grouting Necessary for Paving Slabs?
Grouting is necessary for laying paving slabs for a number of reasons. Firstly, it provides stability and prevents the slabs from moving, resulting in a durable and long-lasting surface. Secondly, grouting helps to prevent the growth of weeds and unwanted vegetation, maintaining an attractive appearance. Additionally, grouting improves the overall strength and load-bearing capacity of the paved area. Finally, it prevents water from seeping through the gaps, reducing the risk of water damage and frost heave.
To achieve the best results, use a high-quality grouting material and follow proper grouting techniques. Take these factors into consideration to ensure a successful and visually appealing paved surface.
What Tools and Materials Are Needed for Grouting Paving Slabs?
Before starting the process of grouting paving slabs, it is essential to gather all the required tools and materials. Each item has an important role in achieving a successful and long-lasting grouting job. In this section, we will discuss the different tools and materials needed for grouting paving slabs, such as the grout mix, trowel, grout float, sponge, bucket, gloves, and safety glasses. Having these items readily available will ensure a seamless and efficient grouting process.
1. Grout Mix
The grout mix is a crucial component when grouting paving slabs. Follow these steps to create the perfect grout mix:
- Gather the necessary materials: cement, sand, and water.
- Measure the ingredients in the correct proportions. A common mix is 1 part cement to 4 parts sand.
- In a mixing container, combine the cement and sand thoroughly.
- Add water gradually while stirring the mix until it reaches a thick, paste-like consistency.
- Test the grout mix by scooping some with a trowel. It should hold its shape without being too runny or crumbly.
- Adjust the mix by adding more water or dry ingredients if needed, until the desired consistency is achieved.
Now that you know how to create the perfect grout mix, let me share a story. A friend of mine recently grouted their patio using a homemade grout mix. They followed the steps carefully and were pleased with the results. The grout held the paving slabs securely in place, providing a beautiful and durable surface for their outdoor space. It just goes to show that with the right mix and proper technique, anyone can successfully grout their paving slabs.
2. Trowel
When grouting paving slabs, a trowel is an essential tool for applying and smoothing the grout. Here is a step-by-step guide for using a trowel in the grouting process:
- Prepare the paving slabs by ensuring they are clean and dry.
- Mix the grout according to the manufacturer's instructions.
- Using the trowel, scoop up a portion of the grout and apply it to the gaps between the paving slabs.
- Hold the trowel at a 45-degree angle and use it to push the grout into the gaps, ensuring they are completely filled.
- Smooth the surface of the grout with the flat edge of the trowel, removing any excess grout.
I recently used a trowel to grout my patio paving slabs. The trowel made it easy to apply the grout evenly and efficiently, resulting in a professional-looking finish. It was a simple and satisfying DIY project that added value and beauty to my outdoor space.
3. Grout Float
A grout float is an essential tool used in the process of grouting paving slabs. Here are the steps to effectively use a grout float:
- Prepare the grout mixture according to the manufacturer's instructions.
- Pour the grout mixture onto the paved surface.
- Hold the grout float at a 45-degree angle and push the grout into the joints between the paving slabs.
- Use a back-and-forth motion to ensure the grout is evenly distributed.
- Continue grouting until all the joints are filled.
- Remove any excess grout from the surface of the paving slabs using the float.
- Allow the grout to dry according to the manufacturer's instructions.
By following these steps and using a grout float, you can achieve a professional-looking finish for your paved area.
4. Sponge
Using a sponge is an essential step in grouting paving slabs. Here is a list of steps to follow when using a sponge for grouting:
- After applying the grout, wait for it to set slightly.
- Dampen the sponge with water, ensuring it is not soaking wet.
- Gently wipe the sponge over the surface of the paving slabs.
- Be careful not to remove too much grout while cleaning.
- Rinse the sponge regularly to prevent excess grout buildup.
- Continue wiping the surface until the grout lines are clean and smooth.
- Allow the grout to fully cure before walking or placing any heavy objects on the paving slabs.
By following these steps and using a sponge correctly, you can achieve clean and professional-looking grouted paving slabs.
5. Bucket
When grouting paving slabs, having a bucket is essential for mixing and carrying the grout. Here is a step-by-step guide for grouting paving slabs using a bucket:
- Prepare the paving slabs by cleaning them thoroughly.
- Mix the grout in the bucket according to the manufacturer's instructions.
- Apply the grout to the gaps between the paving slabs using a trowel.
- Smooth the grout with a grout float, ensuring it fills all the gaps evenly.
- Clean the surface of the paving slabs with a sponge to remove excess grout.
- Seal the grout with a suitable grout sealer to protect it from stains and moisture.
By following these steps and using a bucket for grout mixing, you can achieve a professional and long-lasting result in your paving project.
6. Gloves
Wearing gloves is essential when grouting paving slabs. They protect your hands from harsh chemicals and prevent skin irritation. When choosing gloves, opt for durable yet flexible materials such as latex or rubber. Pay attention to the size and fit for comfort and ease of movement. Some recommended gloves for grouting include heavy-duty rubber gloves or disposable latex gloves. Always remember to follow safety guidelines and dispose of used gloves properly.
Moreover, to enhance your grouting experience, consider using textured gloves for better grip and control. Gloves are a crucial tool for a successful and safe grouting process.
7. Safety Glasses
Wearing safety glasses is essential when grouting paving slabs to protect your eyes from potential hazards. Here are some steps to follow for grouting paving slabs safely:
- Prepare the area by cleaning the surface of the paving slabs and removing any debris.
- Mix the grout according to the manufacturer's instructions, ensuring a smooth consistency.
- Apply the grout using a grout float, spreading it evenly over the surface and into the joints.
- Clean the surface with a sponge, removing any excess grout and smoothing the joints.
- Seal the grout after it has dried to prevent staining and damage.
Fun fact: Safety glasses protect your eyes from flying debris and chemical splashes, reducing the risk of eye injuries during grouting.
Step-by-Step Guide for Grouting Paving Slabs
Grouting paving slabs is a crucial step in any outdoor paving project. It not only improves the strength and stability of the surface, but also enhances its overall appearance. In this section, we will provide a detailed, step-by-step guide on how to correctly grout paving slabs. From preparing the surface to sealing the grout, we will cover all the necessary steps to ensure a successful and long-lasting grouting process.
1. Prepare the Paving Slabs
Preparing the paving slabs is an essential step before grouting. Here is a step-by-step guide to prepare the paving slabs:
- Clean the surface: Remove any dirt, debris, or weeds from the surface of the paving slabs using a broom or a pressure washer.
- Inspect for damage: Check for any cracks or loose slabs that need to be repaired or replaced.
- Level the slabs: Use a spirit level to ensure that all the slabs are level and adjust as necessary.
- Apply a weed killer: To prevent weed growth, apply a weed killer on the surface and in the gaps between the slabs.
- Allow drying time: Give the surface enough time to dry completely before proceeding with grouting.
2. Mix the Grout
Mixing the grout is a crucial step in grouting paving slabs. Follow these steps to ensure a proper mix:
- Gather the necessary tools and materials: grout mix, bucket, trowel, and gloves.
- Read and follow the instructions on the grout mix packaging.
- Pour the grout mix into a clean bucket.
- Add water gradually while stirring the mixture with a trowel until it reaches a smooth and thick consistency.
- Allow the grout to sit for a few minutes, then stir it again before use.
True story: Once, while grouting my patio, I didn't mix the grout properly, resulting in a lumpy texture. I had to remove and redo the grout, wasting time and effort. Lesson learned: always take the time to mix the grout correctly for a smooth and durable finish.
3. Apply the Grout
When applying grout to paving slabs, follow these steps for successful results:
- Prepare the area by ensuring the paving slabs are clean and dry.
- Mix the grout according to the manufacturer's instructions, using the appropriate ratio of water to grout mix.
- Apply the grout to the paving slabs using a grout float or a trowel, spreading it evenly between the joints.
- Work in small sections to ensure the grout doesn't dry out before you can clean it.
- Clean the surface of the paving slabs with a sponge, removing any excess grout.
- Seal the grout to protect it from moisture and stains, following the manufacturer's instructions for the specific sealer you are using.
Following these steps will help you achieve a professionally grouted paving slab surface.
4. Clean the Surface
Cleaning the surface before grouting paving slabs is crucial for achieving a clean and professional finish. Follow these steps to ensure proper surface preparation:
- Remove any loose debris or dirt from the surface using a broom or brush.
- Use a pressure washer or hose to thoroughly clean the slabs, removing any stubborn dirt or stains.
- For tough stains, apply a suitable cleaning solution and scrub the area with a brush.
- Rinse the surface with clean water to remove any residue from the cleaning solution.
- Allow the slabs to dry completely before proceeding with grouting.
To maintain a clean surface, consider these suggestions:
- Regularly sweep or brush the paving slabs to prevent dirt buildup.
- Consider applying a protective sealant to the grout to prevent staining and make future cleaning easier.
- Address any spills or stains promptly to minimize the risk of permanent damage.
- Periodically deep clean the surface using a suitable cleaner and following the manufacturer's instructions.
5. Seal the Grout
To properly seal the grout when grouting paving slabs, follow these steps:
- Clean the surface: Make sure the paving slabs and grout lines are clean and free of any debris.
- Mix the sealer: Prepare the grout sealer according to the manufacturer's instructions.
- Apply the sealer: Use a brush or roller to apply the sealer onto the grout lines evenly.
- Allow drying time: Let the sealer dry completely before allowing any foot traffic on the paved area.
Fact: Sealing the grout helps to protect it from stains, moisture, and damage, extending the lifespan of your paved surface.
Tips for Grouting Paving Slabs

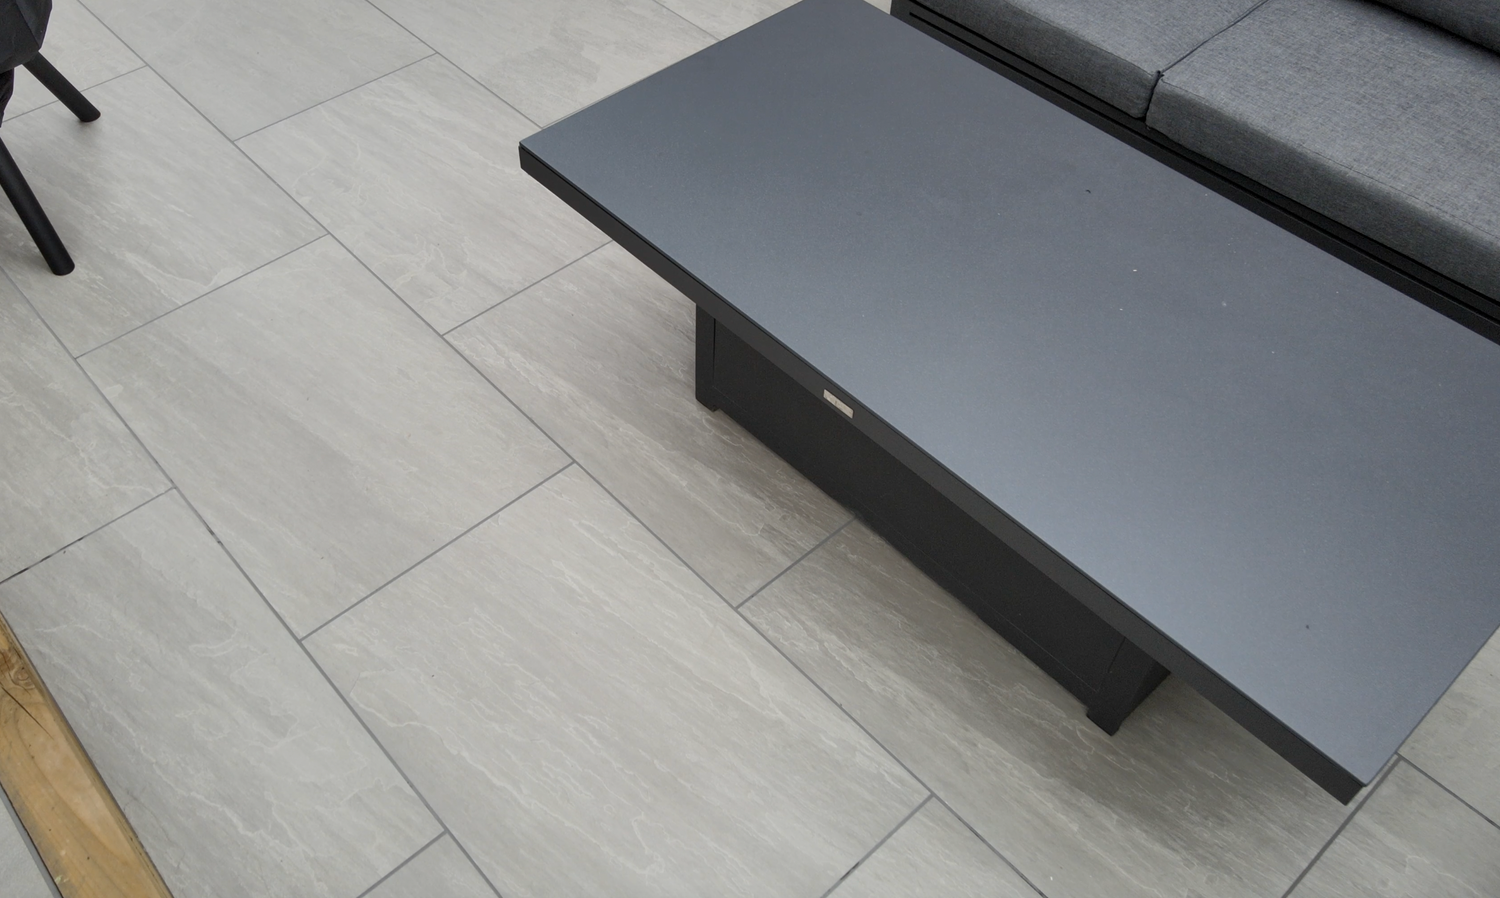
Photo Credits: Www.Pavingshopper.Co.Uk by Gary Flores
When it comes to grouting paving slabs, there are a few key tips to keep in mind for a successful and professional-looking finish. These tips will not only make the grouting process easier but also ensure a long-lasting and sturdy result. From using a grout release agent to working in small sections, we will go through each tip in detail. With these techniques in your toolkit, you'll be able to achieve a flawless grouting job every time.
1. Use a Grout Release Agent
Using a grout release agent is an essential step when grouting paving slabs. This agent helps prevent the grout from sticking to the surface of the slabs, making the cleanup process much easier. Here is a step-by-step guide for using a grout release agent:
- Clean the surface of the paving slabs to remove any dirt or debris.
- Mix the grout according to the manufacturer's instructions.
- Apply the grout release agent to the surface of the slabs using a brush or roller.
- Allow the release agent to fully dry before applying the grout.
- Apply the grout to the slabs, making sure to fill in all the gaps.
- Use a grout float to smooth and level the grout.
- Wipe away any excess grout using a damp sponge.
- Allow the grout to dry completely before sealing the surface.
By using a grout release agent, you can achieve clean and professional-looking grouted paving slabs.
2. Work in Small Sections
Working in small sections is crucial when grouting paving slabs to ensure proper application and avoid drying out too quickly. Here is a step-by-step guide to working in small sections:
- Prepare the area by cleaning the paving slabs thoroughly.
- Mix the grout according to the manufacturer's instructions.
- Apply the grout to a small section of the paving slabs using a grout float.
- Spread the grout evenly, pressing it into the gaps between the slabs.
- Clean the surface of the slabs with a sponge, removing any excess grout.
- Repeat the process for each small section, working your way across the entire area.
- Allow the grout to cure for the recommended time before sealing it.
The practice of working in small sections when grouting paving slabs dates back to ancient times. Archaeological evidence suggests that ancient civilizations, such as the Romans, employed this technique to ensure precise and efficient grouting. By working in small sections, they were able to achieve consistent results and create durable and visually pleasing paved surfaces. This approach has been passed down through generations and is still widely used today in the construction and landscaping industries.
3. Use a Grout Bag for Precision
Using a grout bag for precision is essential when grouting paving slabs. Here is a step-by-step guide to using a grout bag effectively:
- Prepare the grout mixture according to the manufacturer's instructions.
- Load the grout into the grout bag, ensuring it is tightly sealed.
- Hold the grout bag at a 45-degree angle and squeeze gently to release the grout into the gaps between the paving slabs.
- Move the grout bag along the gaps, filling them evenly and avoiding overfilling.
- Use a grout float to smooth and level the grout, pressing it firmly into the gaps.
- Wipe away any excess grout using a sponge and clean water.
- Allow the grout to cure according to the manufacturer's instructions.
Invented in ancient Rome, grouting has been essential for securing and stabilizing paving slabs for centuries, ensuring their longevity and structural integrity. The use of a grout bag for precision has become a modern technique that allows for more accurate and controlled grout application.
4. Wipe Away Excess Grout Immediately
When grouting paving slabs, it is crucial to quickly remove excess grout to achieve a tidy and professional finish. Here are the steps to follow:
- Prepare the necessary tools and materials, such as a grout float, sponge, bucket, and gloves.
- Mix the grout according to the manufacturer's instructions.
- Apply the grout to the gaps between the paving slabs, ensuring they are completely filled.
- Immediately after applying the grout, use a damp sponge to wipe away any excess grout from the surface of the slabs.
- Continue wiping the surface until the slabs are clean and the grout lines are smooth.
- Allow the grout to dry and cure according to the manufacturer's instructions.
- Once the grout is fully dried, seal it to protect it from dirt and stains.
By following these steps and promptly removing excess grout, you can achieve a clean and professional finish for your paved area.
How to Maintain Grout in Paving Slabs?

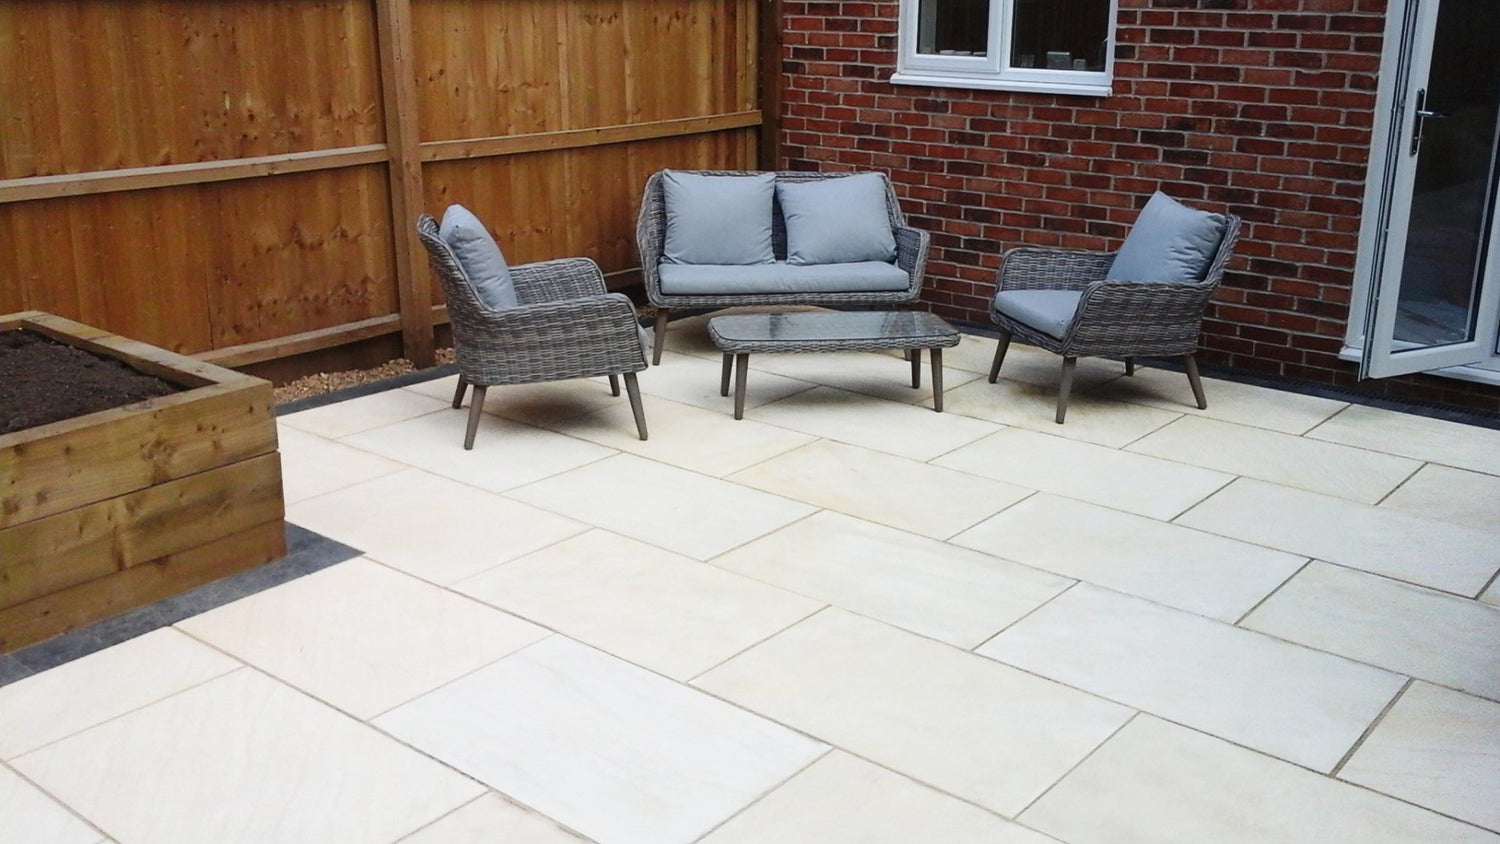
Photo Credits: Www.Pavingshopper.Co.Uk by Anthony Nelson
Proper maintenance of grout in paving slabs is crucial to ensure the longevity and appearance of your outdoor space. In this section, we will discuss the first step in maintaining grout: regular cleaning. Discover the best methods and products to use for keeping your grout clean and preventing any buildup of dirt or debris. By following these simple tips, you can keep your paving slabs looking pristine and avoid any potential issues with the grout in the future.
1. Regular Cleaning
Regular cleaning is vital to maintain the appearance and durability of grouted paving slabs. Here is a step-by-step guide to help you keep your paved area looking its best:
- Remove debris: Sweep or use a leaf blower to get rid of any dirt, leaves, or loose debris from the surface of the paving slabs.
- Prepare a cleaning solution: Mix a mild detergent or a specialized paving slab cleaner with water as per the manufacturer's instructions.
- Scrub the surface: Use a stiff brush or scrubbing broom to apply the cleaning solution to the surface of the paving slabs. Scrub in a circular motion to loosen any stubborn dirt or stains.
- Rinse with water: Thoroughly rinse the paving slabs with clean water to remove the cleaning solution and any remaining dirt.
- Dry the surface: Allow the paving slabs to air dry or use a clean towel or mop to dry the surface.
To maintain the grout in your paving slabs:
- Inspect regularly: Check the grout for any signs of damage, such as cracks or missing pieces.
- Repair promptly: If you notice any issues with the grout, repair it as soon as possible to prevent further damage.
- Seal the grout: Apply a grout sealer to protect the grout from stains and moisture penetration.
By following these regular cleaning and maintenance practices, you can keep your grouted paving slabs in excellent condition for years to come.
1. What is grouting and why is it important for paving slabs?
Grouting is the process of placing a sealant between paving joints to create a waterproof barrier. It is important for preventing water damage and maintaining the overall appearance of your paving. It also has functional benefits, such as preventing weed growth and repelling water.2. What is the best method for grouting paving slabs?
The most common method is using a sand and cement mix, which is economical but messy and may stain the paving. Other options include pre-mixed jointing compounds or resin-based products. Each method has its own application process and benefits, so it is important to choose the right one for your paving.3. What tools do I need for grouting paving slabs?
You'll need basic tools like a trowel, stiff brush, bucket, and tamping tool. For larger areas, a grout bag or grout spreader can help. You may also need mixing tools for cement-based grouts. Always use appropriate safety gear like goggles and gloves.4. How do I apply grout between paving slabs?
The process involves thoroughly cleaning joints, dampening slabs, filling joints with grout, smoothing with a trowel, and cleaning residue. Take care to fully pack joints and allow proper drying time. Follow all product instructions carefully for best results.5. How long does patio grout last?
Grout can last 2-5 years on average, but lifetimes vary based on factors like grout material, weather, and foot traffic. Grouted Porcelain pavers may need regrouting more often than natural stone. Inspect annually and regrout when cracked or worn.6. Should I seal my paved patio after grouting?
Sealing after grouting helps protect porous paving surfaces. Use a penetrating sealer suitable for the paving type. Reapply every 1-2 years. Sealing is not necessary for non-porous pavers like porcelain. Consult a professional for advice on your specific patio.7. How do I clean grout off patio pavers?
Use a stiff nylon brush and mild cleaner to scrub grout residue. Rinse thoroughly with clean water. Avoid acid-based cleaners on certain surfaces. For stubborn stains, a poultice cleaner or oxygen bleach may be more effective. Always test cleaners first.8. What is the most cost-effective grouting option?
Traditional sand and cement mixes are the most budget-friendly option for grouting. Bagged mixes are also economical. More advanced grouts often provide greater longevity and performance despite higher upfront costs.Related Posts
-

8 Garden Paving Ideas for 2024
It's time to refresh your garden's look for 2024 and an easy way to do that is with some new paving. With so many opt...
-

Stunning Garden Water Feature Ideas - Enhance Your Outdoor Space
Garden water features are decorative elements that incorporate water into a garden, adding beauty and a sense of ...
-

Block Paving Guide | What Does it Cost? | How Much Per m2?
Block paving is a versatile and durable option for creating driveways, patios, and paths. This method involves using...
-

Are paving slabs suitable for driveways?
This is a question many homeowners ask when it comes to choosing the right type of driveway surface for their home. T...