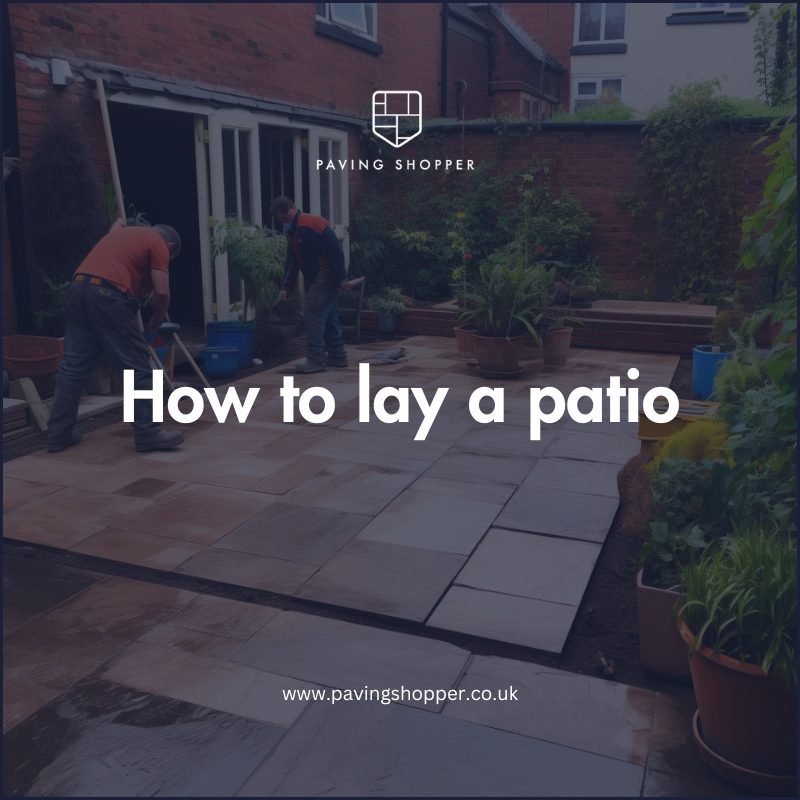
How to lay a patio - An expert guide to laying paving slabs and patterns
There are a few things to consider before laying a patio, such as the type of paving stones and the laying pattern. You’ll also need to install a sub-base and edge restraints.
In this guide, we'll navigate through the essential steps to lay a patio. Initially, ordering the requisite pavers, materials, and finalizing the laying pattern is crucial. Post-installation, applying a paving sealant enhances the durability and stain resistance of your patio. This comprehensive laying guide encompasses different patio laying techniques.
To lay a new outdoor patio, these are the steps you will need to take:
- Choose your paving stones and laying pattern
- Install a sub-base and edge restraints
- Starting in a corner, lay your paving slabs
- Fill in the joints and compact the patio
- Seal and enjoy your new outdoor patio!

Here’s a quick step-by-step breakdown on the above steps on how to lay a patio.
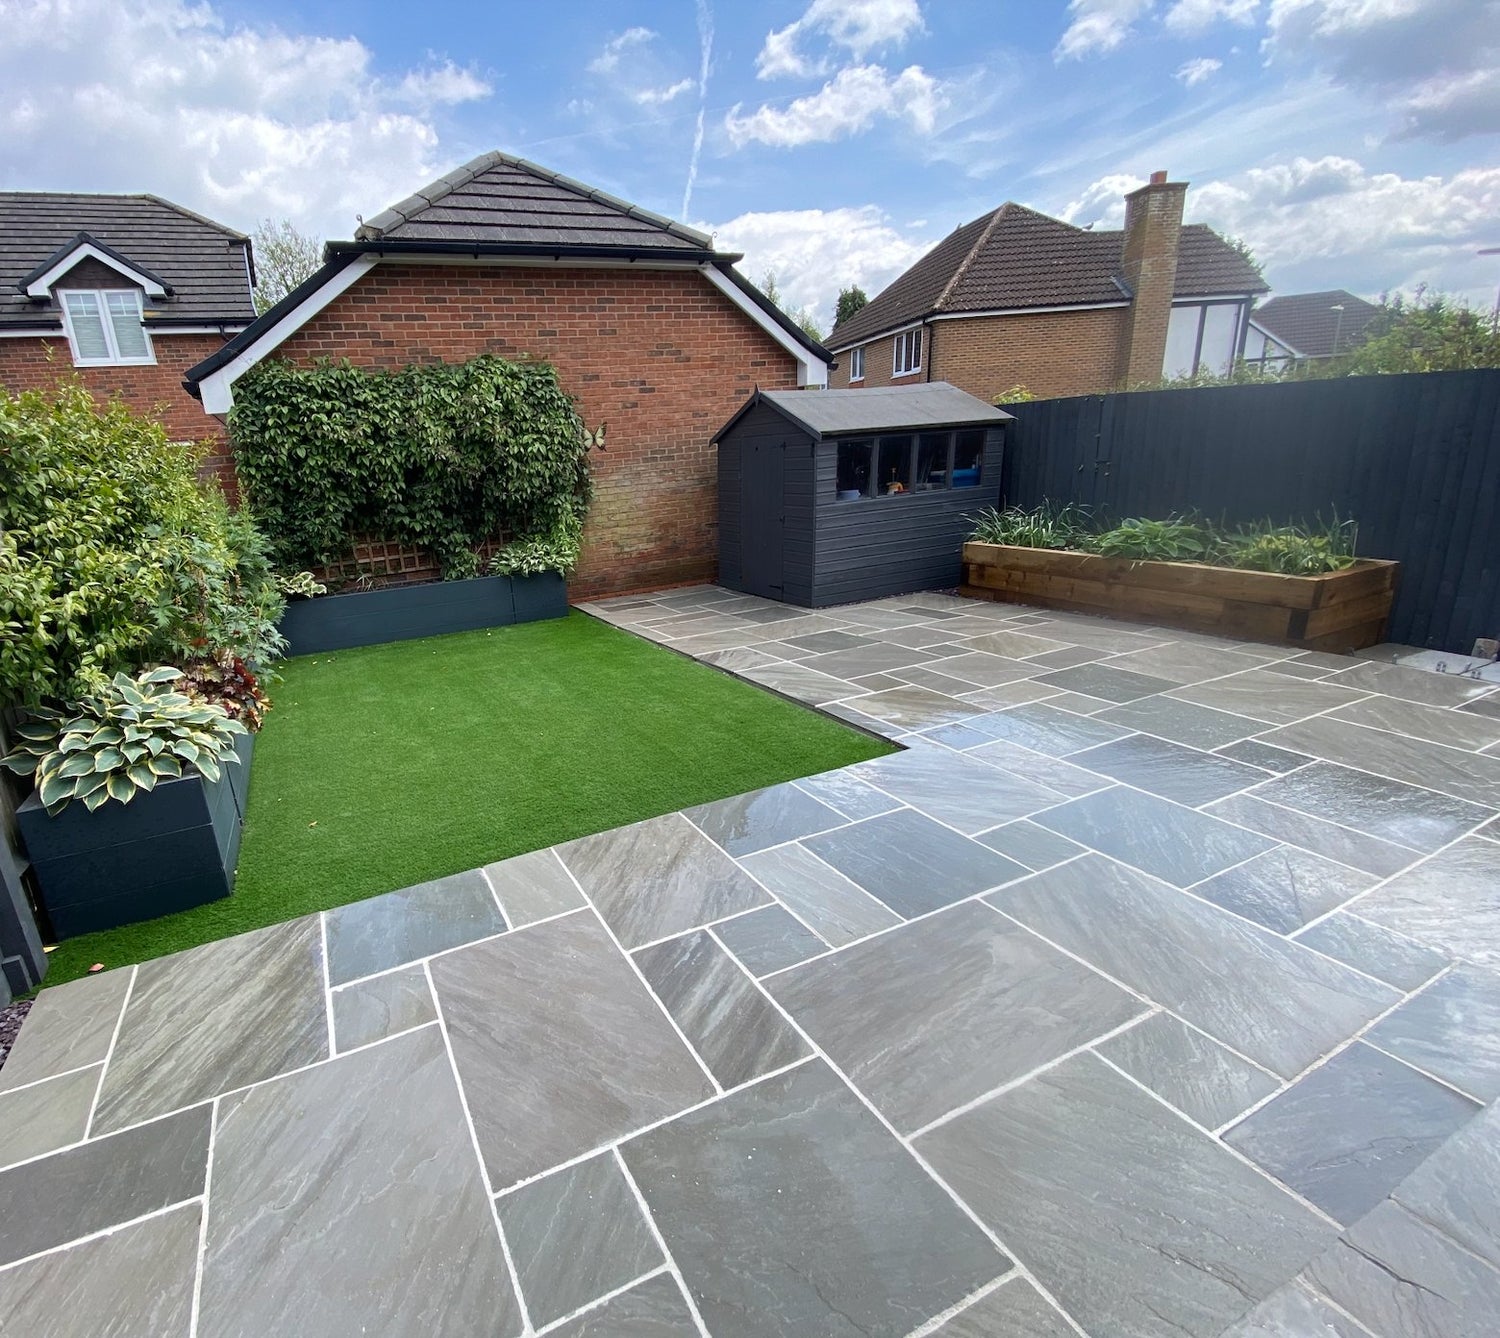
1. Choose the right paving stones. There are many different types of paving stones, so it’s important to choose the right ones for your project. Consider the size, shape, and color of the stones as well as their durability and slip resistance.
2. Decide on a laying pattern. There are many different laying patterns to choose from, so take some time to explore your options. Consider the size and shape of your space as well as the overall look you want to achieve. Other factors to consider are the combination of slabs you intend on using, such as single-sized paving or patio kits.
3. Install a sub-base. A sub-base is necessary to provide support for the paving stones and to prevent settling. It should be made of crushed stone or gravel and should be at least 4 inches thick.
4. Install edge restraints. Edge restraints are used to keep the paving stones in place and to prevent them from spreading. They should be made of concrete, plastic, or metal and should be at least 2 inches wide.
5. Lay the paving stones. Starting in one corner, lay the paving stones in your chosen pattern. Use a level to make sure each stone is level with the others. If you’re using mortar, spread it evenly over the back of each stone.
6. Fill joints with sand. Once all the stones are in place, fill the joints between them with sand for paving. This will help to prevent weeds from growing and will give your patio a finished look.
7. Compact the patio. Use a plate compactor to compact the entire patio. This will help to settle the paving stones and prevent them from shifting over time.
8. Finish up. Spread a layer of gravel over the entire patio and then use a garden hose to wash it away. This will remove any loose gravel or sand and will give your patio a clean finish.

What is needed to lay sandstone and limestone paving slabs?
The first thing you need to do is make sure you have all the tools and materials required. For this job you will need a tape measure, spirit level, hammer, chisel, bucket, trowel, spade, rubber mallet, and a sharp Stanley knife. You will also need porcelain paving, sandstone paving, or limestone paving slabs, mortar mix, cement, and water.
Preparing your outdoor area to lay paving slabs
The next thing to do is prepare the area where you will be laying the paving slabs. This involves removing any existing grass or weeds from the area and leveling off the ground with a spade. Once you have done this, mark out the area where you will be laying the slabs using string or garden hose.
Now it’s time to start laying the slabs, but first, we need to know which laying pattern we are going to be using. There are many different patterns to choose from but the most popular are herringbone, basket weave, and stretcher bond.
Let’s first explore each patio laying pattern, and which one is best for you. Generally, this is just an aesthetic preference, though sometimes for certain patterns, it may be worth using a professional landscaper to help aid laying your paving slabs.
What is a herringbone laying pattern?
The herringbone laying pattern is made up of two interlocking L-shapes and is probably the most popular laying pattern for Indian sandstone paving. This is because it looks great and is relatively easy to lay yourself.
How do I lay a herringbone laying pattern?
To lay this pattern, start by laying the first slab in the middle of your prepared area. Then take the next slab and place it at a 45-degree angle to the first one, making sure that the ends of both slabs are touching. The next slab should then be placed in the same way but at a 90-degree angle to the first two slabs. You should continue laying the slabs in this way until you have reached the edge of your prepared area.
What is a basket weave laying pattern?
The basket weave laying pattern is made up of two interlocking square shapes and is another popular laying pattern for Indian sandstone paving. This pattern is slightly more difficult to lay than the herringbone but still relatively easy for a DIYer.
How do I lay a basket weave laying pattern?
To lay this pattern, start by laying the first slab in the middle of your prepared area. Then take the next slab and place it at a 90-degree angle to the first one, making sure that the ends of both slabs are touching. The next slab should then be placed in the same way but at a 180-degree angle to the first two slabs. You should continue laying the slabs in this way until you have reached the edge of your prepared area.
What is a stretcher bond laying pattern?
The stretcher bond laying pattern is made up of two parallel lines of slabs with each subsequent row offset by half a slab. This is the most difficult laying pattern for Indian sandstone and limestone paving and is best left to professionals.
How do I lay a stretcher bond laying pattern?
To lay this pattern, start by laying the first slab in the middle of your prepared area. Then take the next slab and place it so that it is touching the first slab but offset by half a slab. The next slab should then be placed in the same way but at a 90-degree angle to the first two slabs. You should continue laying the slabs in this way until you have reached the edge of your prepared area.
How to lay mixed-size patio packs
If you are laying a patio with mixed size paving slabs, you will need to lay one of the largest slabs first and then work your way down to the smaller ones. To do this, start by laying the first slab in the corner of your prepared area.
On Paving Shopper, these are the 900 x 600 paving . You will need to lay this horizontally, then place a second 900mm x 600mm slab directly below it as far left as possible but this paver will be placed vertically.
Once you’ve created your starting point here, this area will act as a guide for you to continue the pattern like so:

Laying patio paving
Now that we know how to lay the most popular paving patterns, let’s get started on laying our own patio!
Once you have decided on a pattern, start laying the slabs from one corner working outwards. It’s important to make sure that each slab is level with the others before moving on. To do this, use a spirit level.
Begin by mixing the mortar mix with water in a bucket according to the manufacturer’s instructions. Once it is the consistency of peanut butter, use a trowel to apply it to the back of the first paving slab.
Position the slab in the desired location and then tap it into place with a rubber mallet. Use a spirit level to make sure it is level before moving on to the next one. Repeat this process until all the slabs are in place.
Once all the slabs are in place, you will need to fill any gaps between them with cement. First, brush away any excess mortar mix using a stiff-bristled brush. Then, simply mix some cement with water in a bucket and then use a trowel to apply it to the gaps. Smooth it off with the trowel and then leave it to dry. Once the whole area is filled in, leave the mortar to set for 24 hours before applying water to cure it.
Watering in your newly laid paving slabs
After you have finished laying all the slabs, it’s time to water them in. This helps the cement to set and also prevents the slabs from drying out too quickly, which can cause them to crack.
To water them in, simply use a garden hose with a sprinkler attachment or a watering can with a rose head. Wet the paving thoroughly and then leave it to drain for 30 minutes. Repeat this process 3 times over the course of 24 hours. Once you have finished watering them in, leave the paving to cure for 28 days before using it.
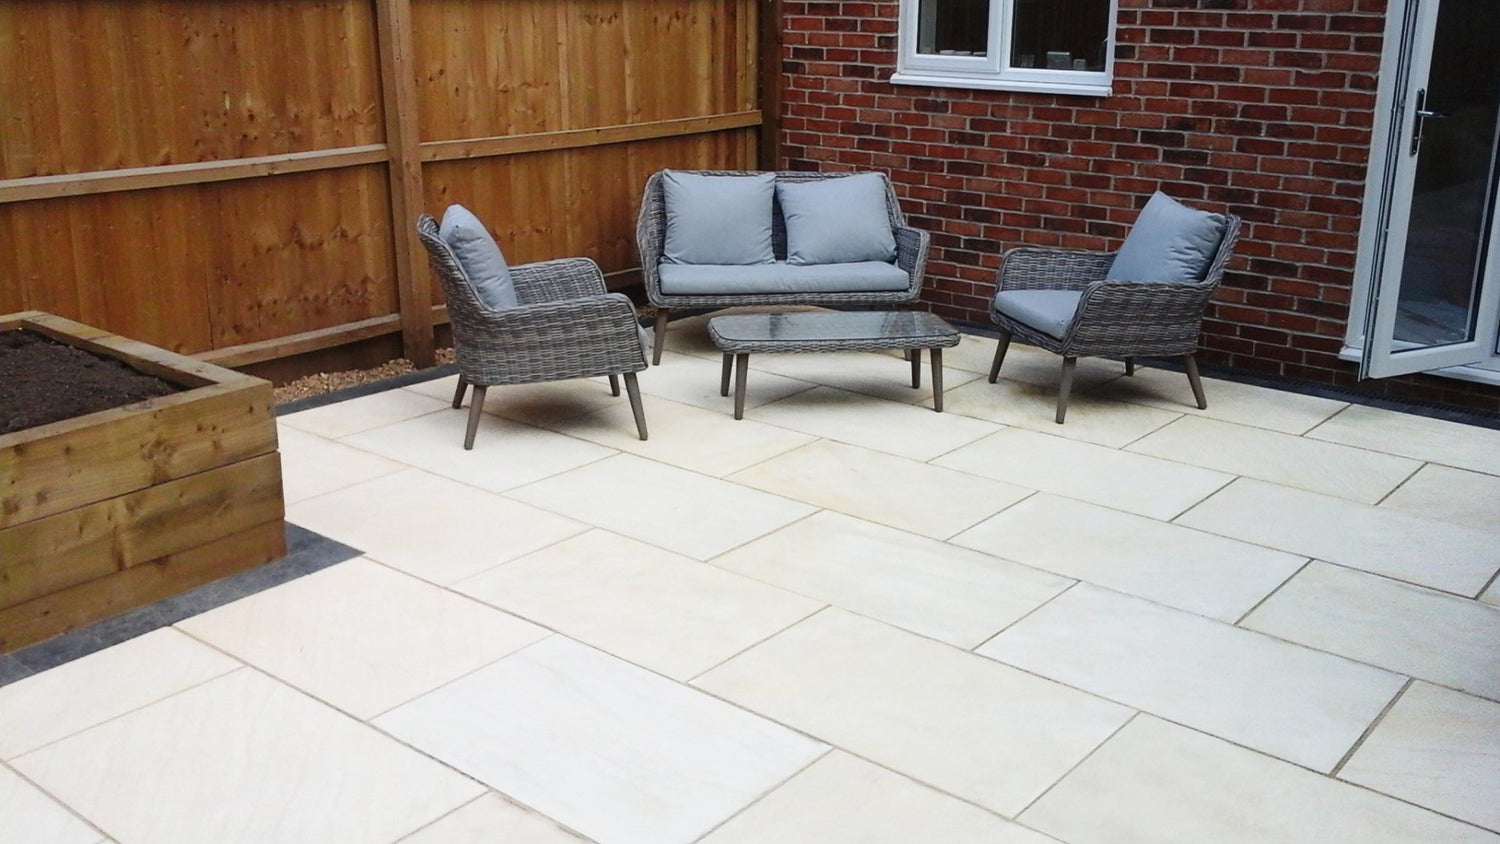
And there you have it! You’ve now learned how to lay paving slabs in popular patterns as well as how to water them in correctly.
Time to enjoy your brand new patio!
Related Posts
-

5 Paving Ideas for Small Gardens: Maximise Your Outdoor Space
Front of House When considering paving ideas for the front of your house, it's crucial to select ones that complem...
-

Porcelain VS Ceramic Paving
Porcelain paving is non-porous and more durable than ceramic paving, which is more porous and prone to stains and wea...
-

Jointing and Pointing For Paving (Sand & Cement Mix)
Patio pointing is important for both looks and durability. It protects the layers under your paving, stops weeds, and...
-

Patio Kits vs Single Size Paving Slabs: Which To Choose?
When designing a patio or outdoor space, one crucial decision is whether to use a patio kit (also known as patio pack...